diy solder fume extractor
I’ve been meaning to build a small solder fume extractor for a while and I finally got around to it this weekend. It is a pretty straight-forward project with a small parts list. You will need:
an enclosure a computer fan a switch a dc jack 12v dc wall wart activated charcoal filter
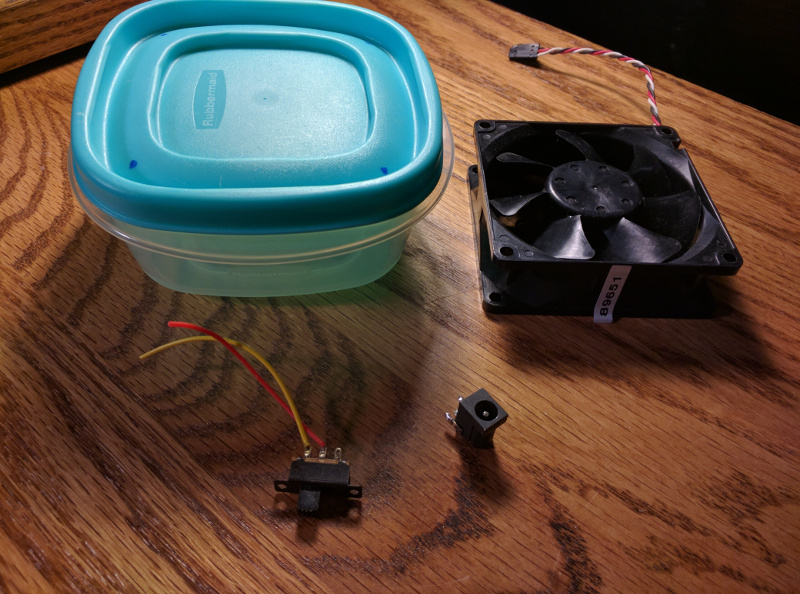
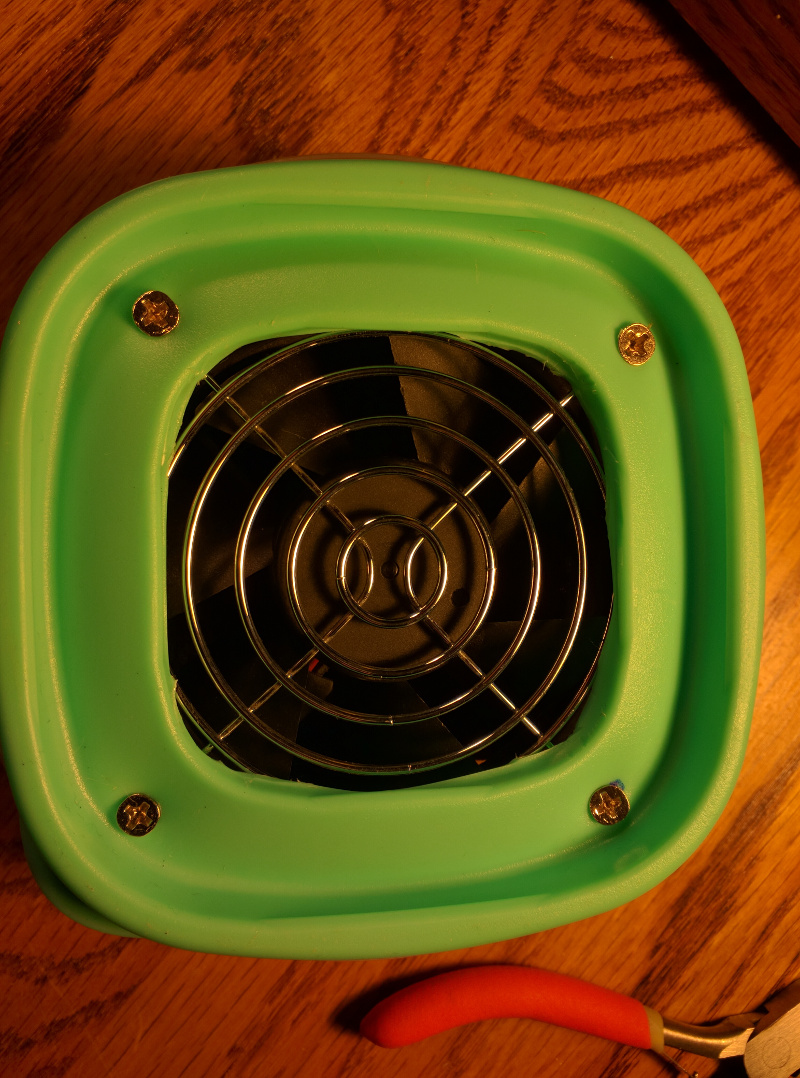
For the enclosure, I used a small food container. You can see in the picture above where I marked the holes to mount the fan. Drill out the holes and cut a hole in the lid to use as the air intake and mount the fan to the lid of the container. I also used the blade guard from an old atx power supply to cover the spinning blades.
Cut holes in the side of the container to accomodate the power switch and the dc jack.
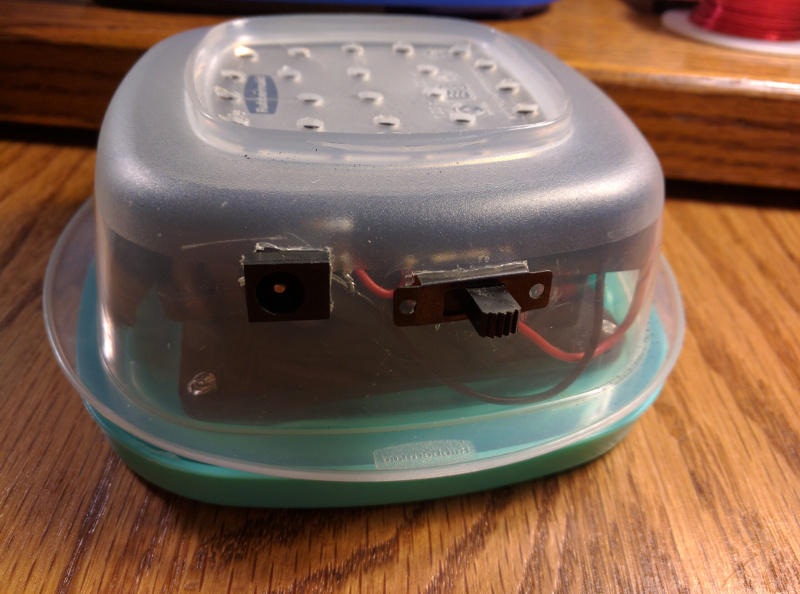
Mount the switch and dc jack, and glue in if needed. Then solder up the dc jack, switch, and fan. In the picture above, you can see where I drilled out holes for the exhaust, but this was not enough airflow and the fan just blew the solder smoke away from the intake. In the next picture you can see that I removed most of the bottom of the container to get the airflow working correctly.
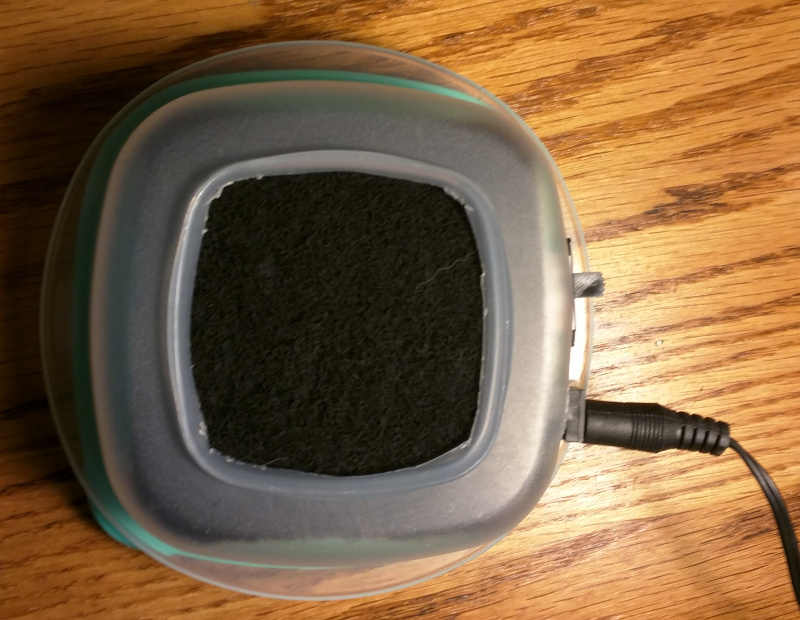
Once everything is working, insert the filter.
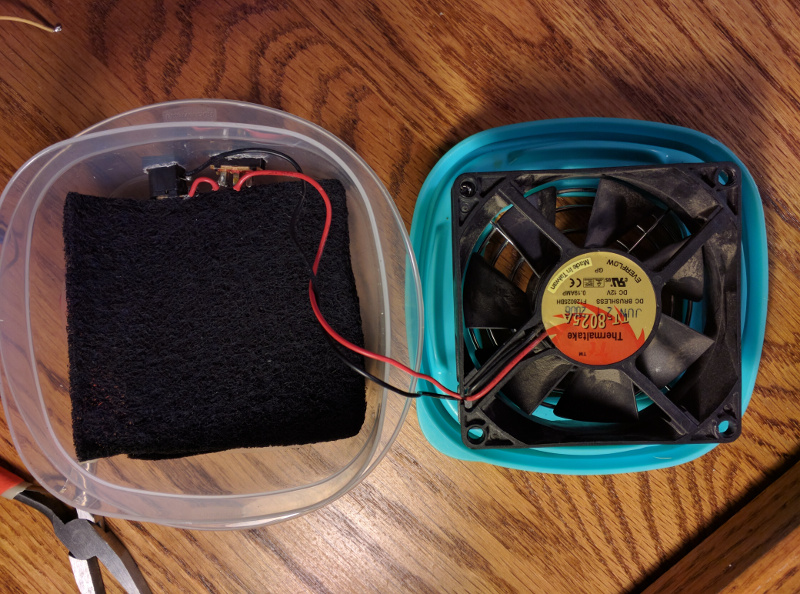
Then closer ‘er up and get to soldering.