geiger counter
A few weeks back, I ordered a Russian sbm-20 Geiger tube and it finally came in. The tube runs on 400v and will emit a pulse when it detects ionizing radiation.
Due to the Townsend avalanche phenomenon the tube is able to register a significant pulse from even a single ionizing event.
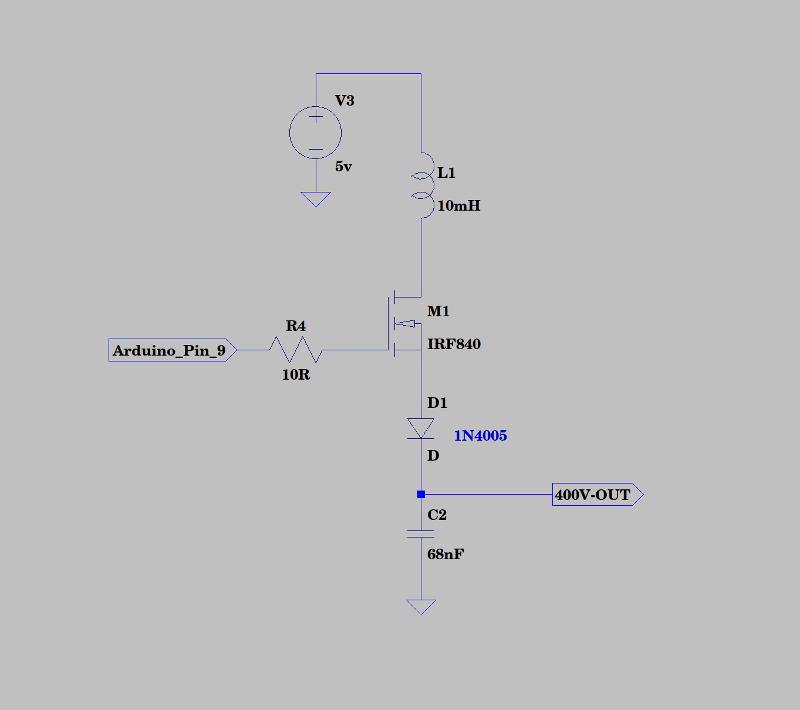
To test the tube, I needed to build a 400 volt power supply. The simplest and quickest way to do that (with what I had on hand) was to make a simple switching supply using an arduino to supply a pulsing dc voltage to an irf840 mosfet.
Here is the schematic.
Here is the circuit on a breadboard.
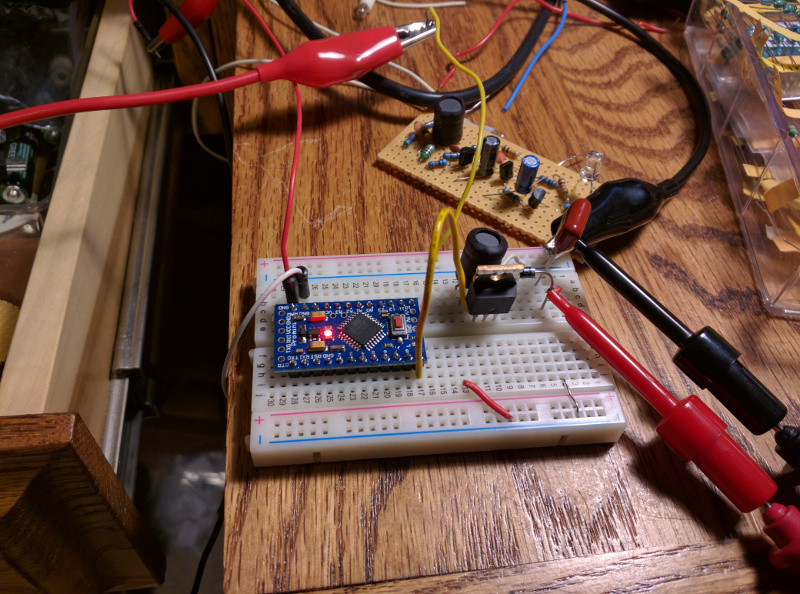
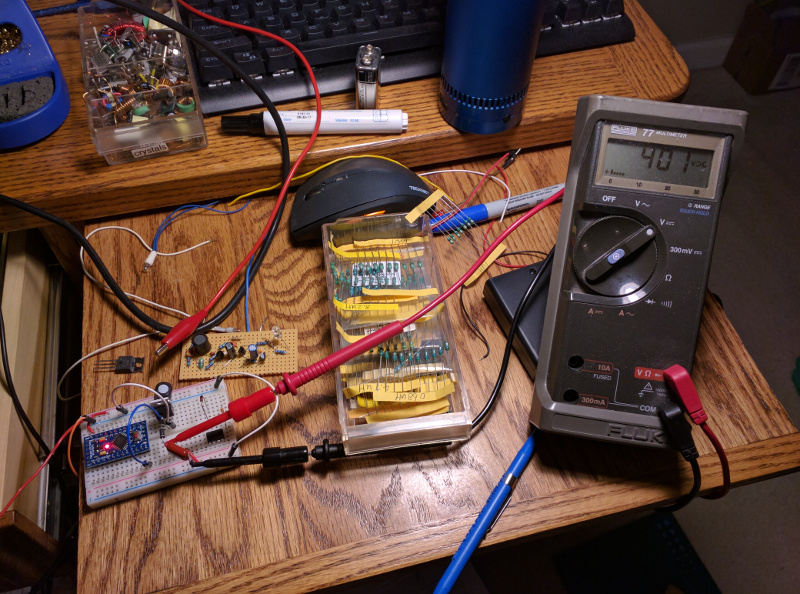
As you can see, it is currently generating right at 400v.
The arduino code is fairly simple.
|
|
Next, I put together the pulse detection circuit. I borrowed this portion from the mighty ohm geiger counter kit.
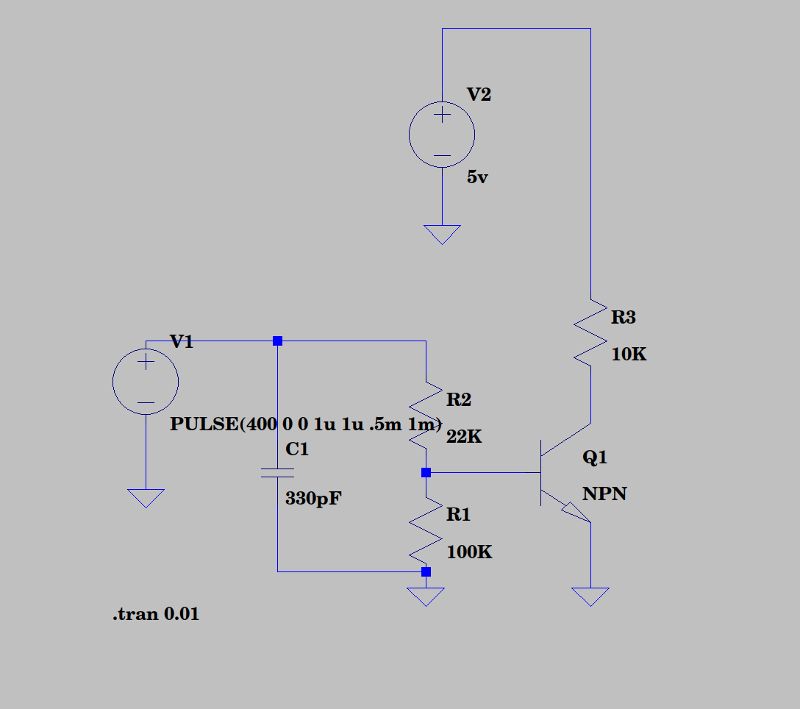
Putting it all together, I get this.
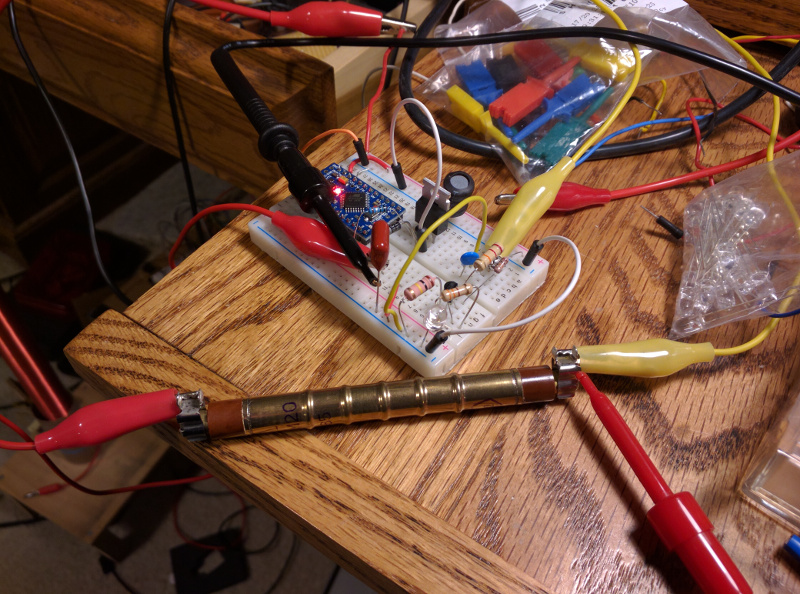
I put an led in series with the transistor’s emitter, so every pulse that comes through flashes the led.
The short video below shows it pulsing to some background radiation. I’m going to try to find a good test source to validate that it is working correctly.
Then I’ll create a permanent circuit with the arduino counting the pulses and calculating exposure levels, etc.
*** UPDATE 12/18/2017 ***
I picked up a cheap ionizing smoke detector and extracted the americium-241 to test the geiger counter.
As you can see from the video below, the tube seems to be picking up the alpha radiation from the americium.