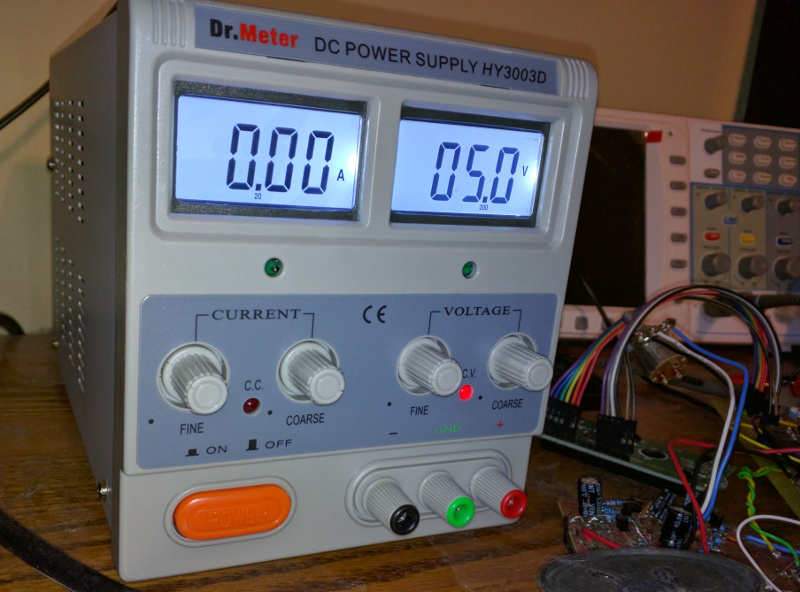
homebrew linear power supply
I recently came into possession of a pile of old uninterruptible power supplies that were headed to the trash and I decided to crack one open.

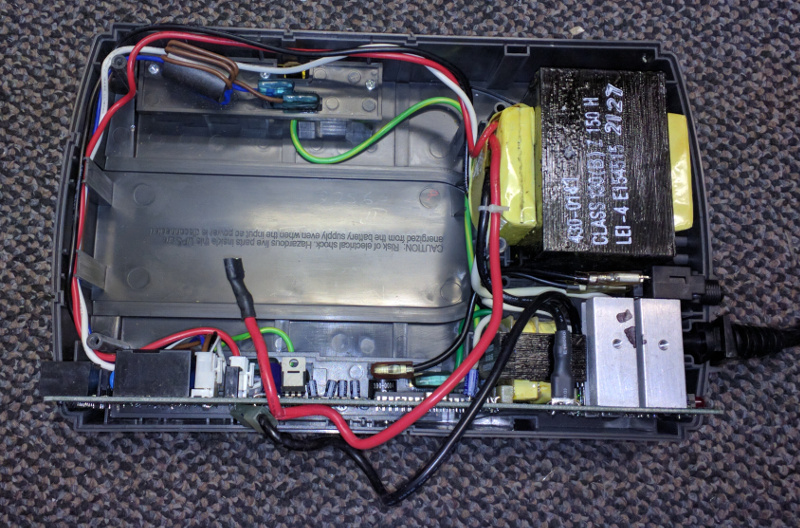
Seeing the big transformer gave me the idea to make my own power supply. Currently, my only bench power supply is an old switching ATX power supply that I have added some binding posts to. I’d like an adjustable supply and I know I should probably just buy one, if only for the constant voltage and constant current capabilities, but I figured this would make a nice weekend project.

Now the transformer in the UPS is an inverting transformer to take the 12v battery voltage up to line voltages, but if I connect the AC to the secondary then it should step the voltage down instead of up.
I put together this circuit with a few modifications based on what I had on hand. Here is my version.
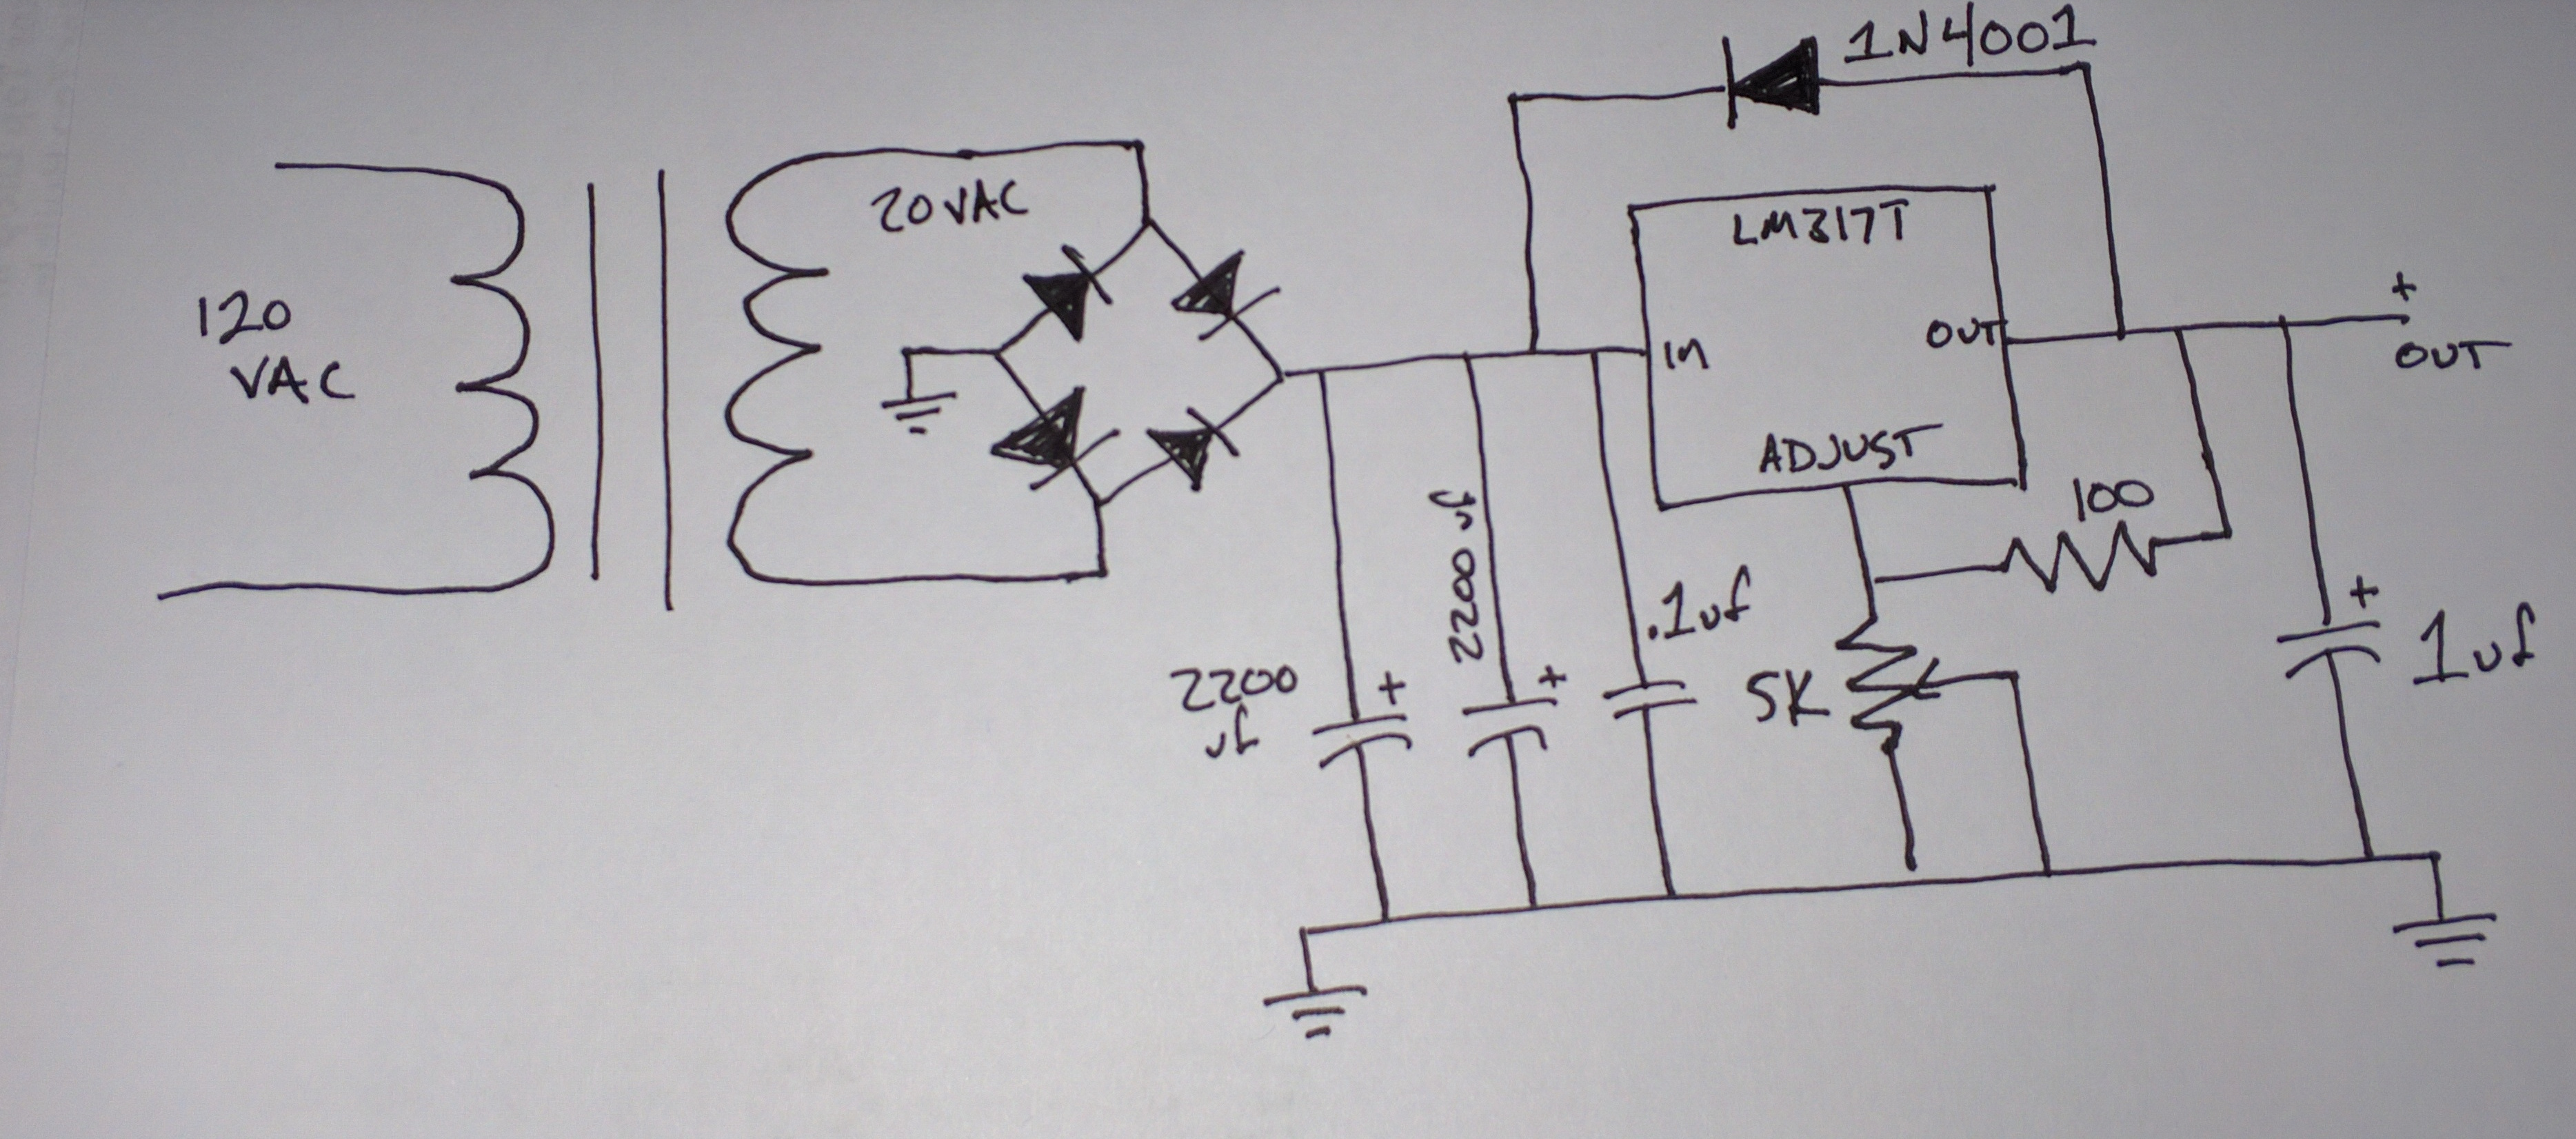
I built it with a packaged bridge rectifier and with a fuse and a switch on the AC input.
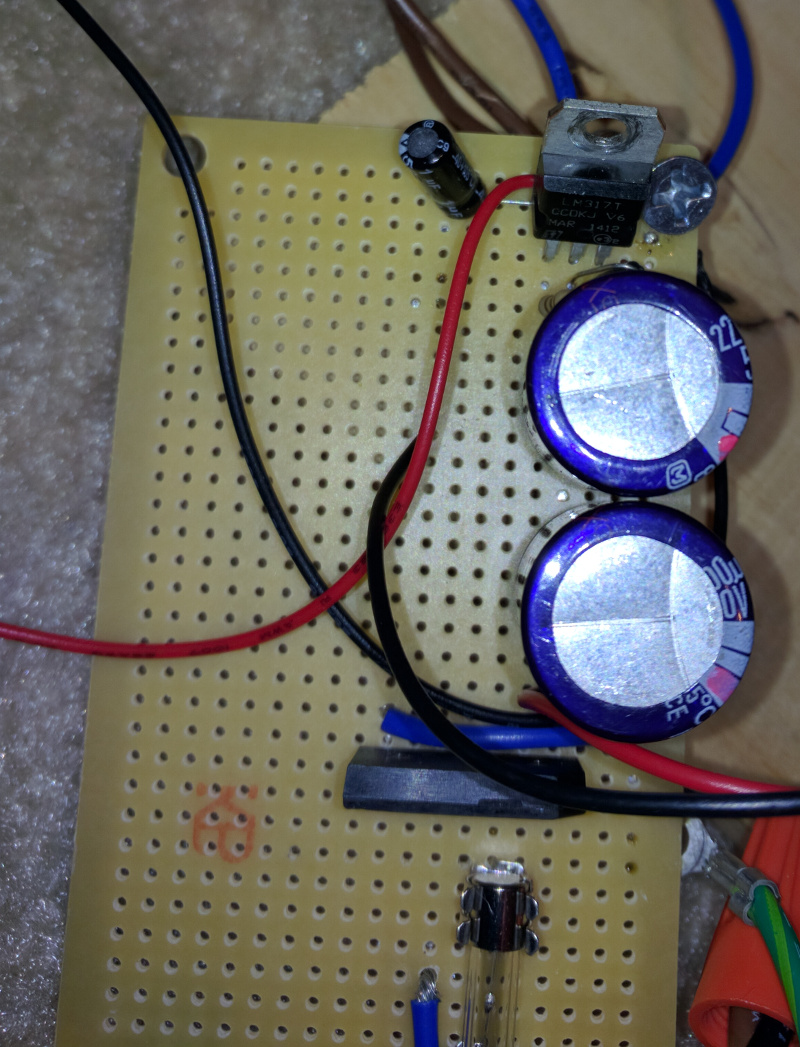
I also added one of those small volt meter modules on the output.
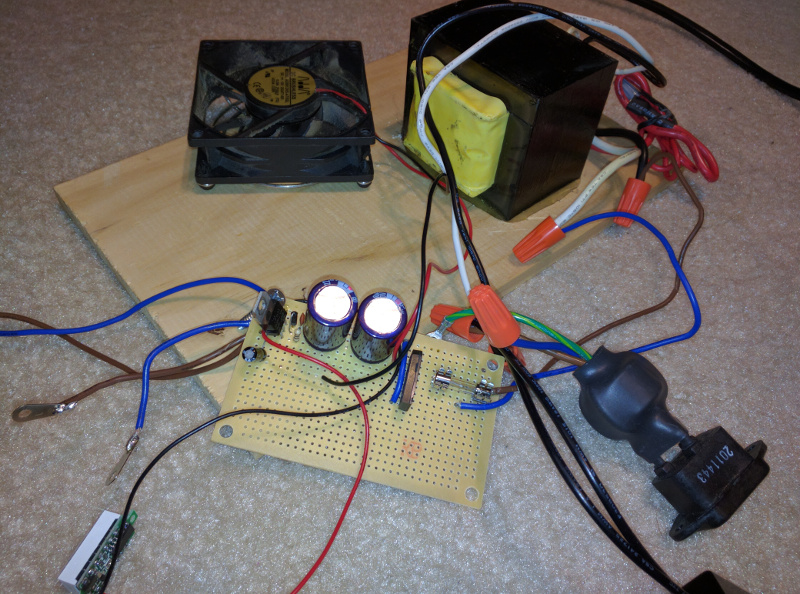
In this test configuration, the power supply has a max DC voltage of 20 volts. The 5k pot is tough to dial in an exact voltage, but it works. I added a heat sink to the LM317T and added a 12 volt PC fan. The fan runs all the time at 20 volts when the supply is powered on, so I’m not sure how long it will last. If it goes too soon, then I may add another regulator just for the fan.
I tried to build an enclosure for the power supply out of wood, but apparently, I’m not very good at wood working. I kept breaking pieces, so I started looking around for a pre-made metal enclosure and I found another old PC power supply that I will clean up and use. I will update this post when I get everything packed into its new enclosure.
***Edit***
So, here is the final layout of the power supply in its enclosure.
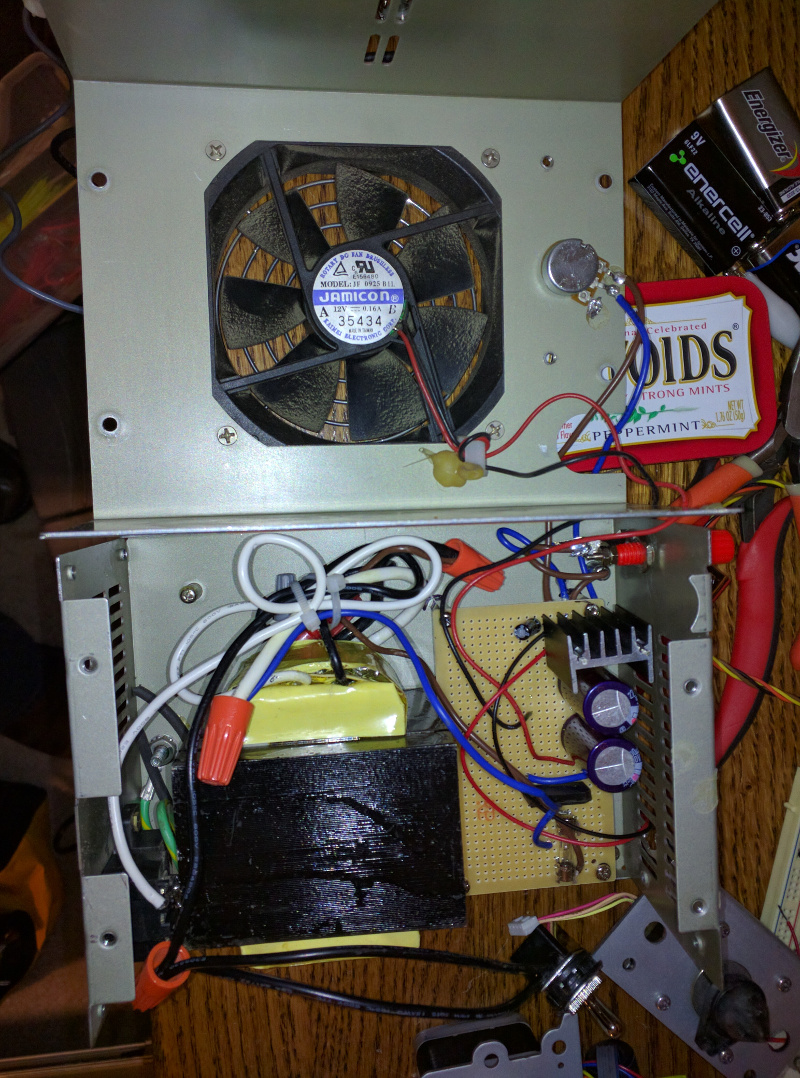
You can see the heat sink on the LM317T and the binding posts that were added to the front of the case. I used two part epoxy to stick the transformer in the case.
Here is the supply all done and closed up.
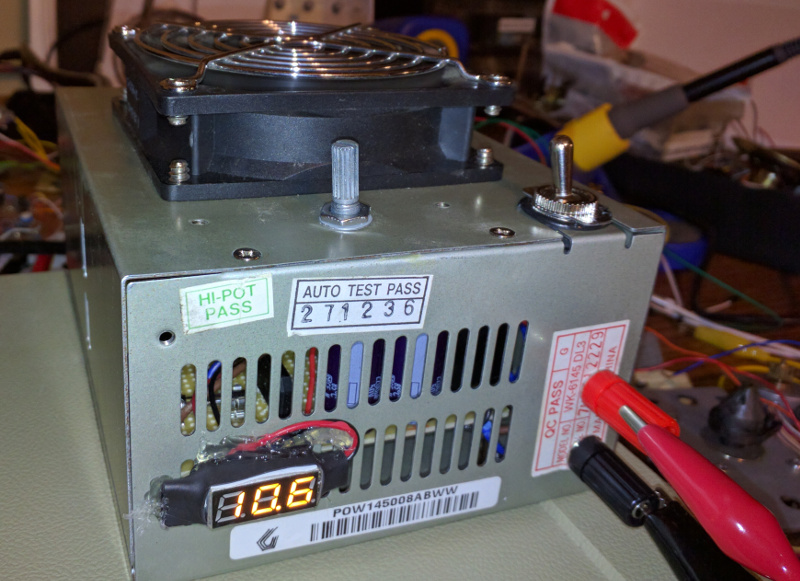
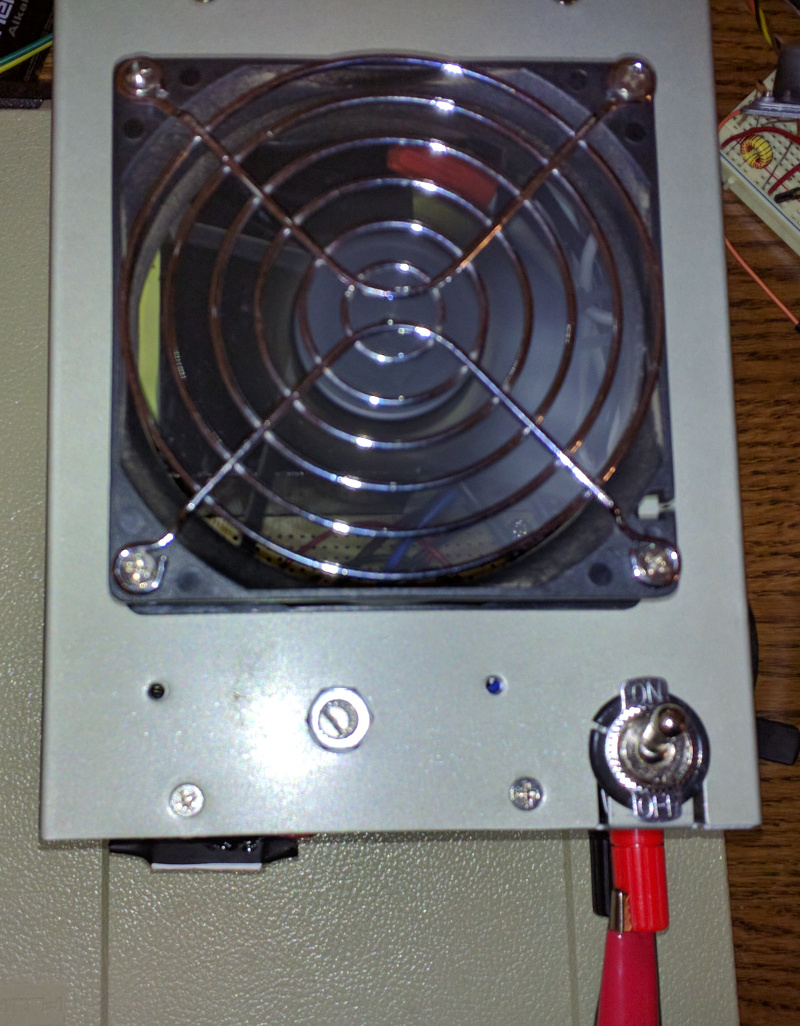
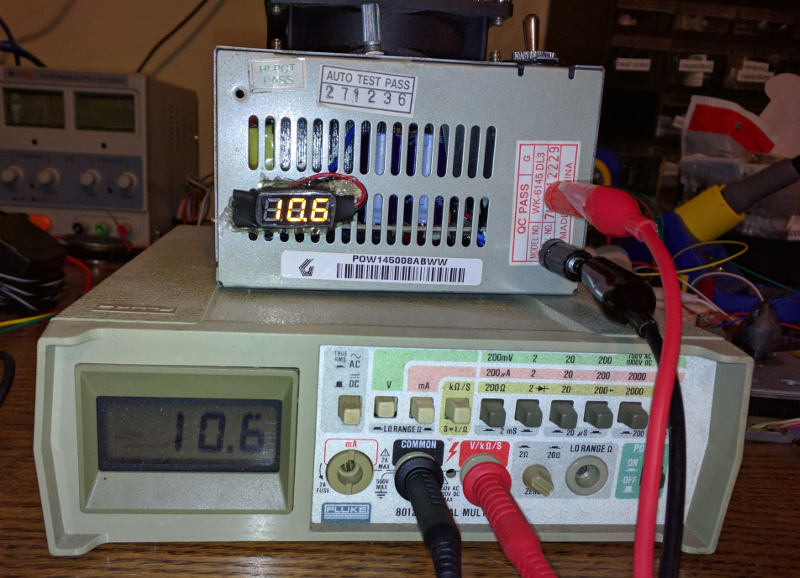
The switch fit perfectly in the existing hole for the wire loom. I ended up heat shrinking the volt meter and hot gluing it onto the front of the case rather than trying to cut out a hole and mount it.
Here, I’ve got it hooked into an external meter and the accuracy of the on board meter seems bang on.
Now, thanks to Amazon flash deals, I no longer need this supply, but I guess its always good to have a spare. I’m sure it will get some use.
