#septandy – tandy color computer 2
I guess its my turn to jump on the #septandy bandwagon. #septandy is where retro computing bloggers and youtubers take a look at tandy gear in the month of September.
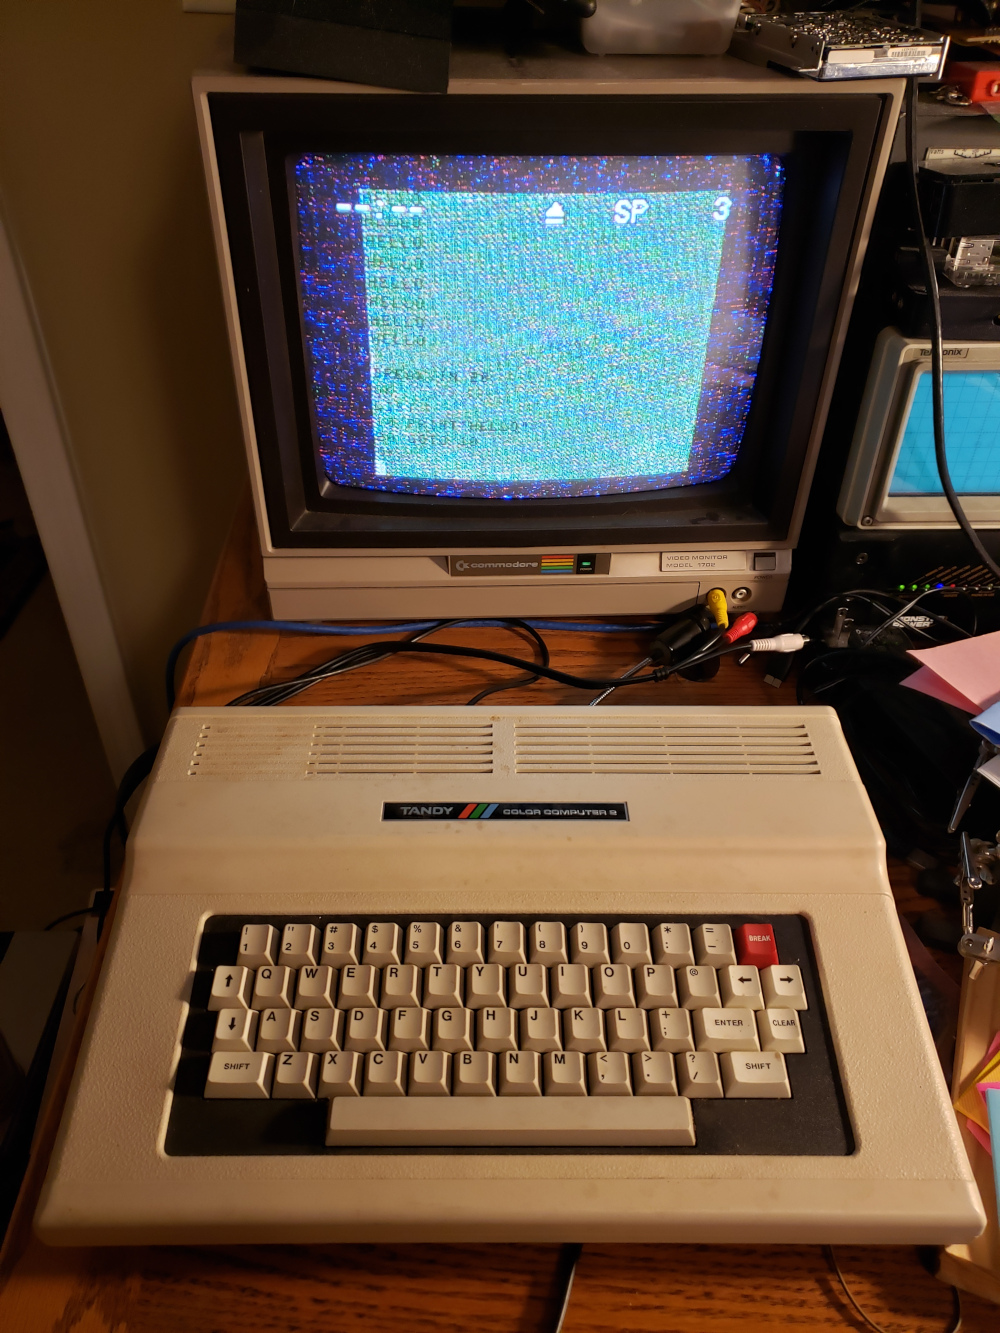
I picked up a tandy color computer 2 with a tandy tape drive on ebay a while back and hadn’t gotten around to testing it out. The coco2 only has RF out and the only RF device I had available was an old VCR.
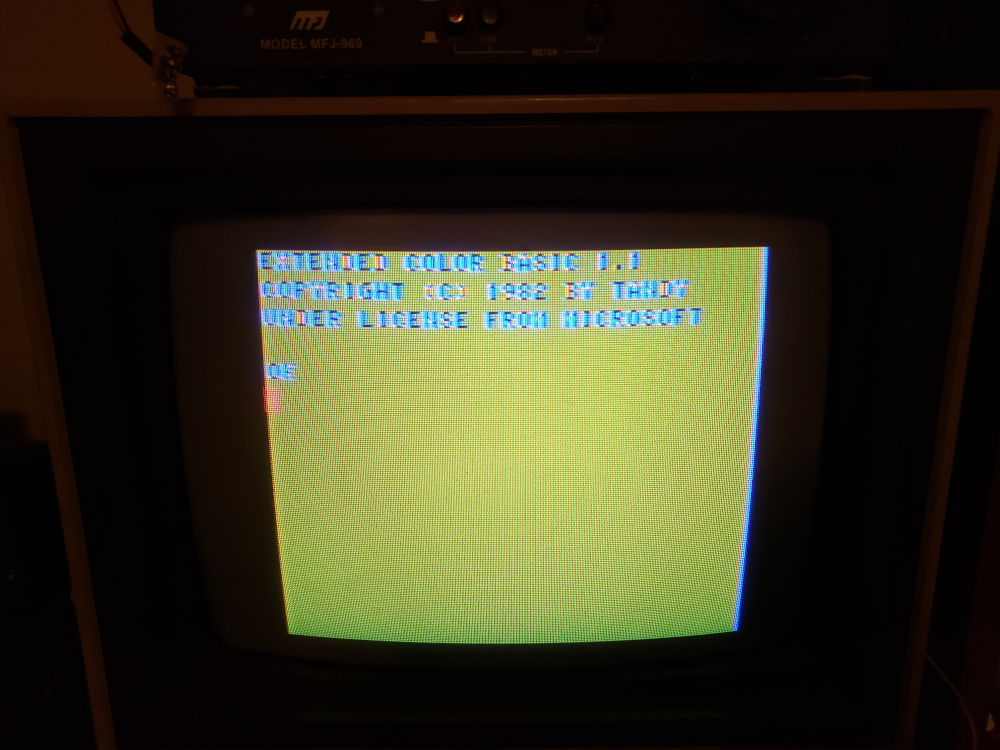
As you can see below, the machine did work straight away with no repair work needed. The video quality was terrible through RF and since its such an ordeal for me to use RF video these days, I figured I’d try a composite mod.
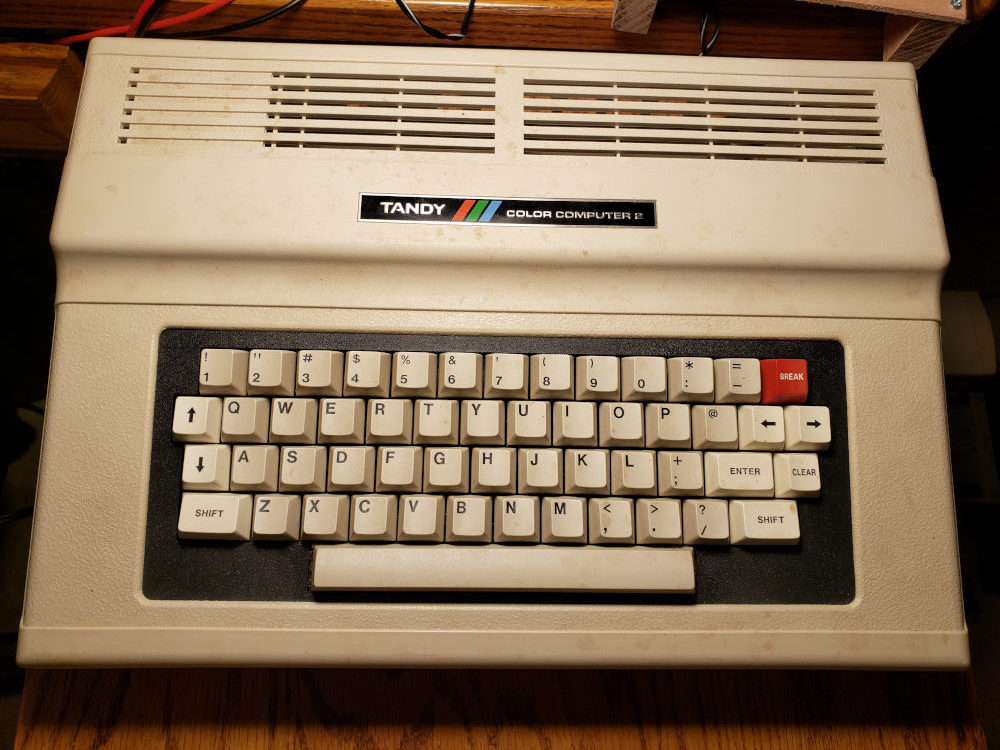
This is how I received it. It was a bit dirty, but otherwise, it was in pretty good shape. The warranty sticker was still in place, so it had never been opened since it was originally manufactured.
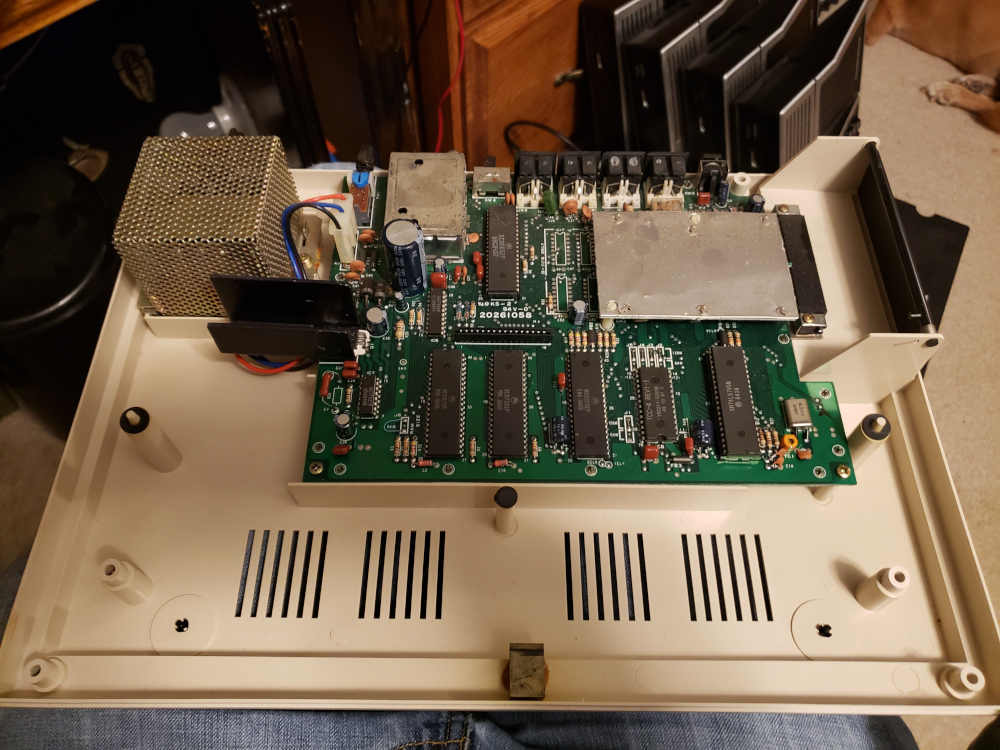
I opened it up and removed the board so I could get access to the RF modulator.
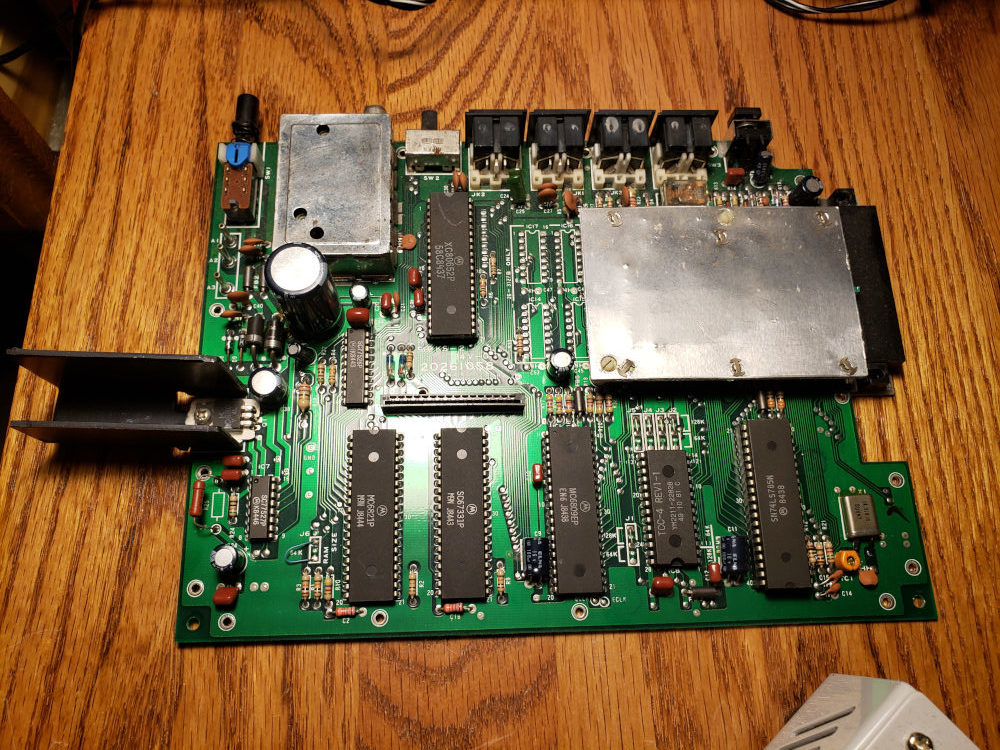
I was dreading removing it, but my desoldering gun handled it fairly well.

I did lift a pad unfortunately.
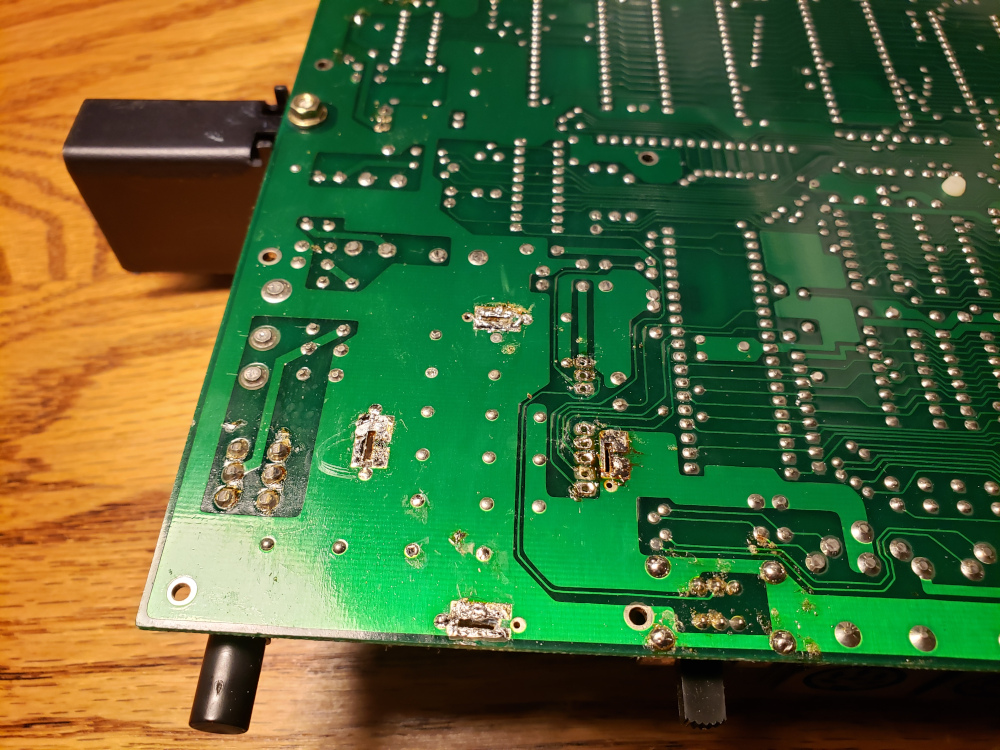
I needed the MC1372P chip from the RF modulator to use in the composite circuit, so I removed it as well.
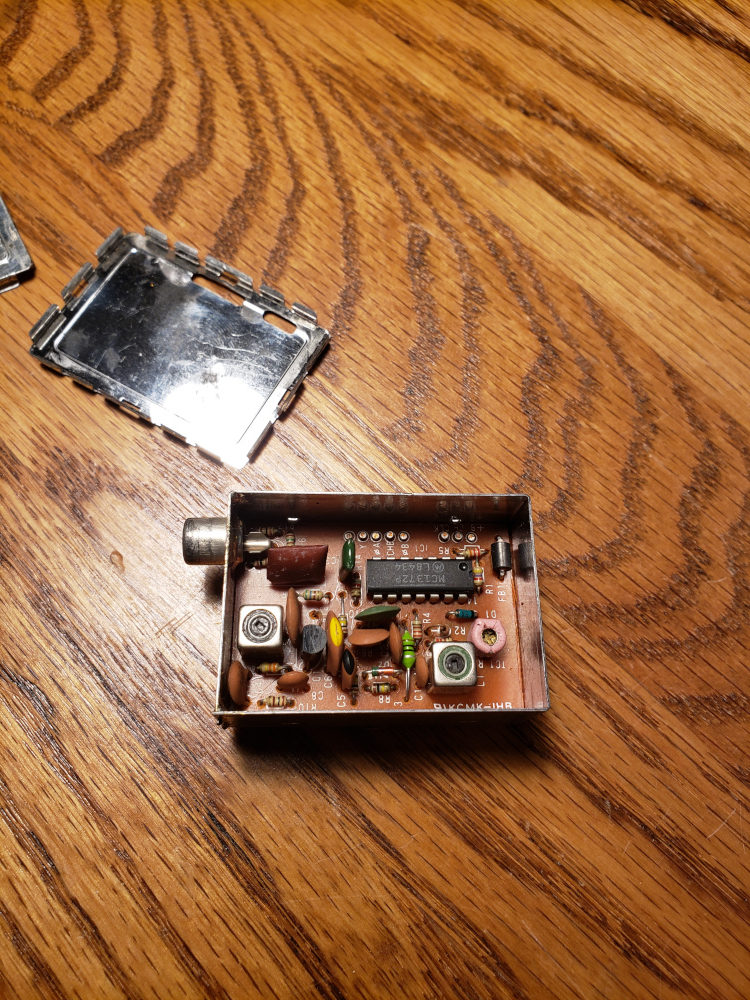
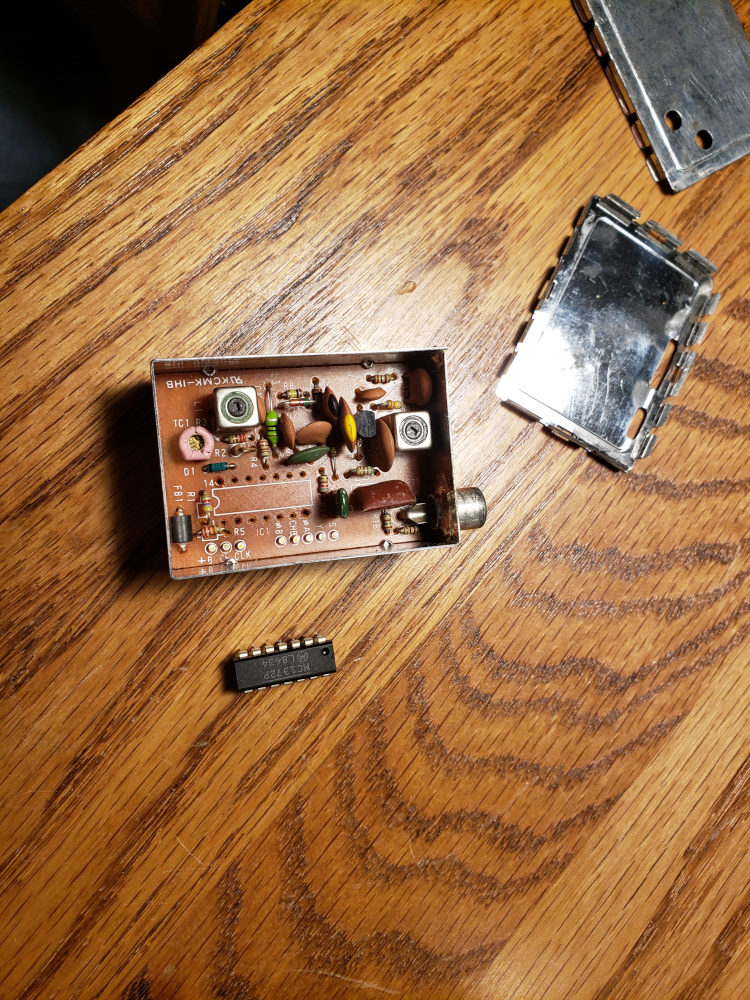
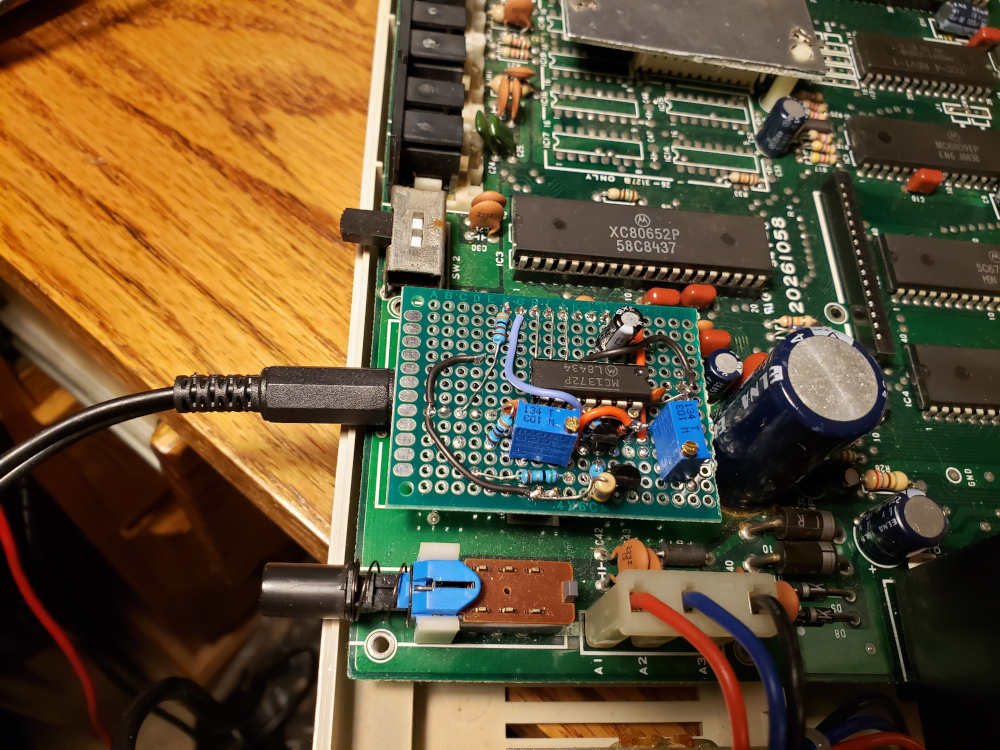
Next I installed pin header sockets in place of the RF modulator so I could plug in the video circuit.
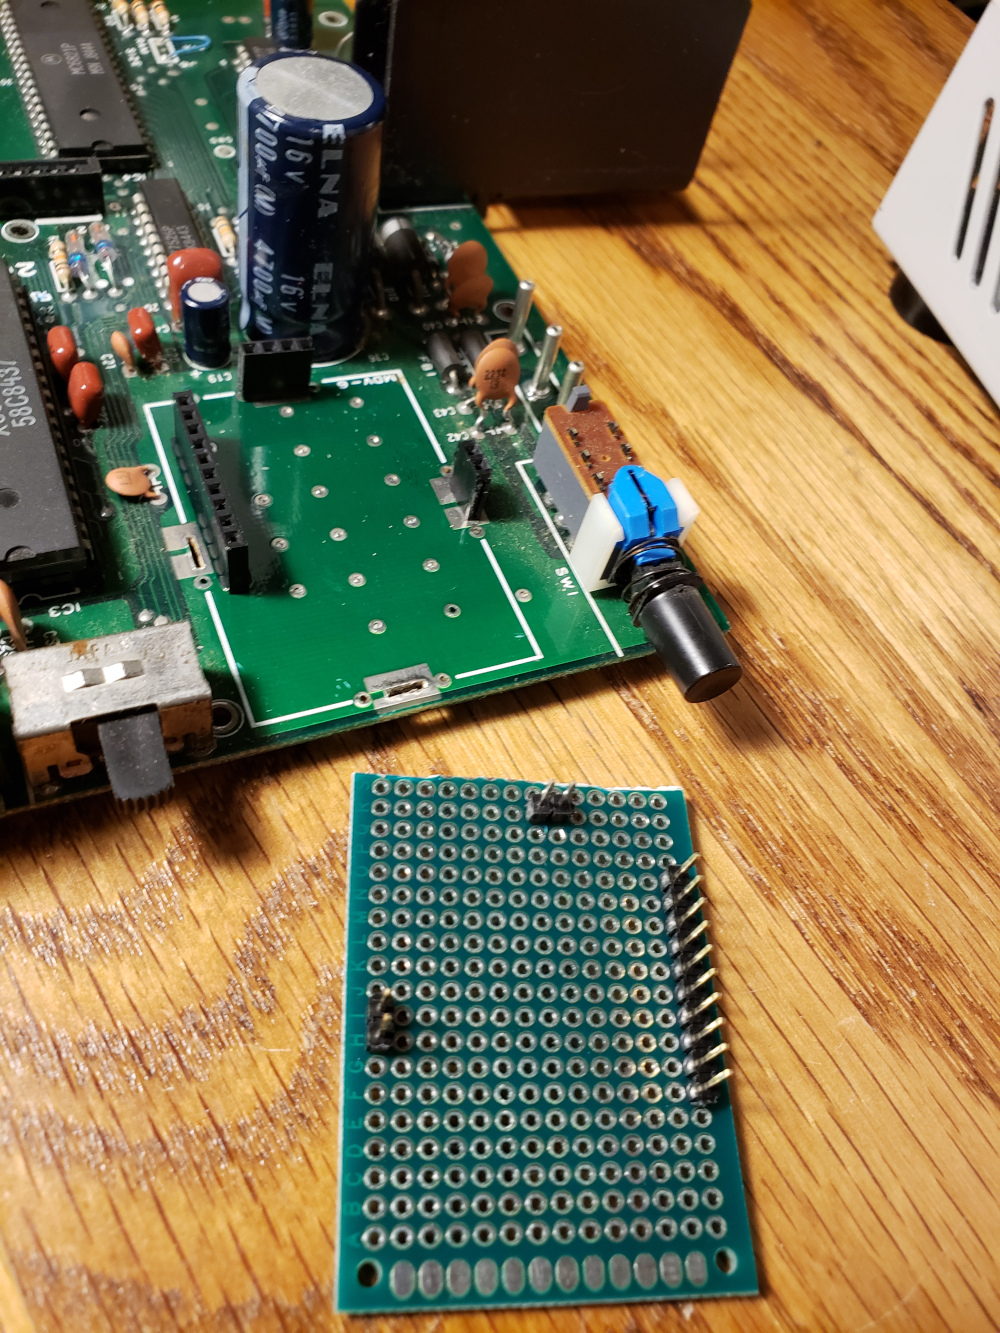
I couldn’t get the lifted pad to solder up okay, so I ran a jumper wire to the next connection point.

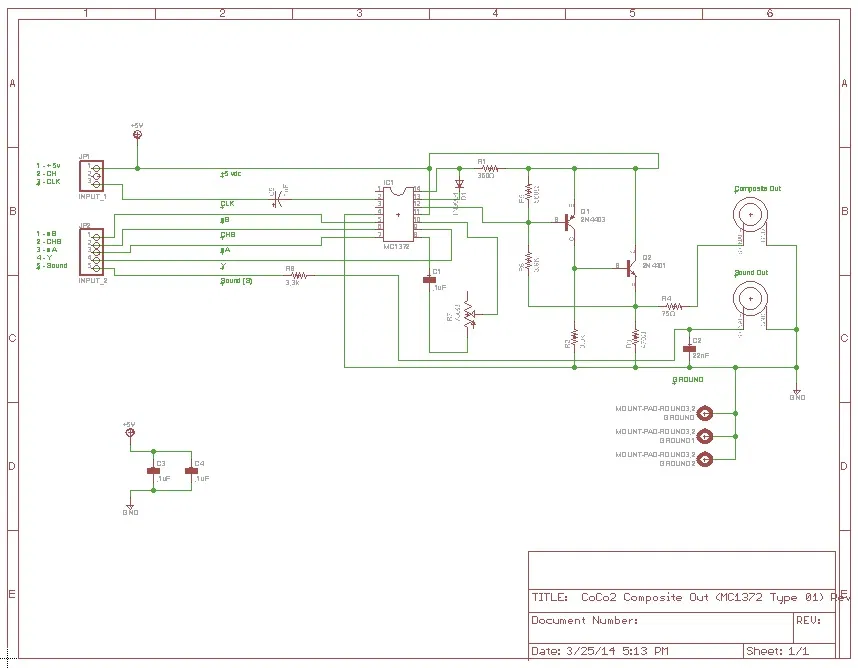
I used the following schematic as the base for my circuit which I found here: https://thezippsterzone.com/2018/05/07/color-computer-2-composite-board/
I substituted parts and values for things I had on hand, but this was the general schematic.
I built up the circuit and plugged it in. I used an alligator lead to test the output.
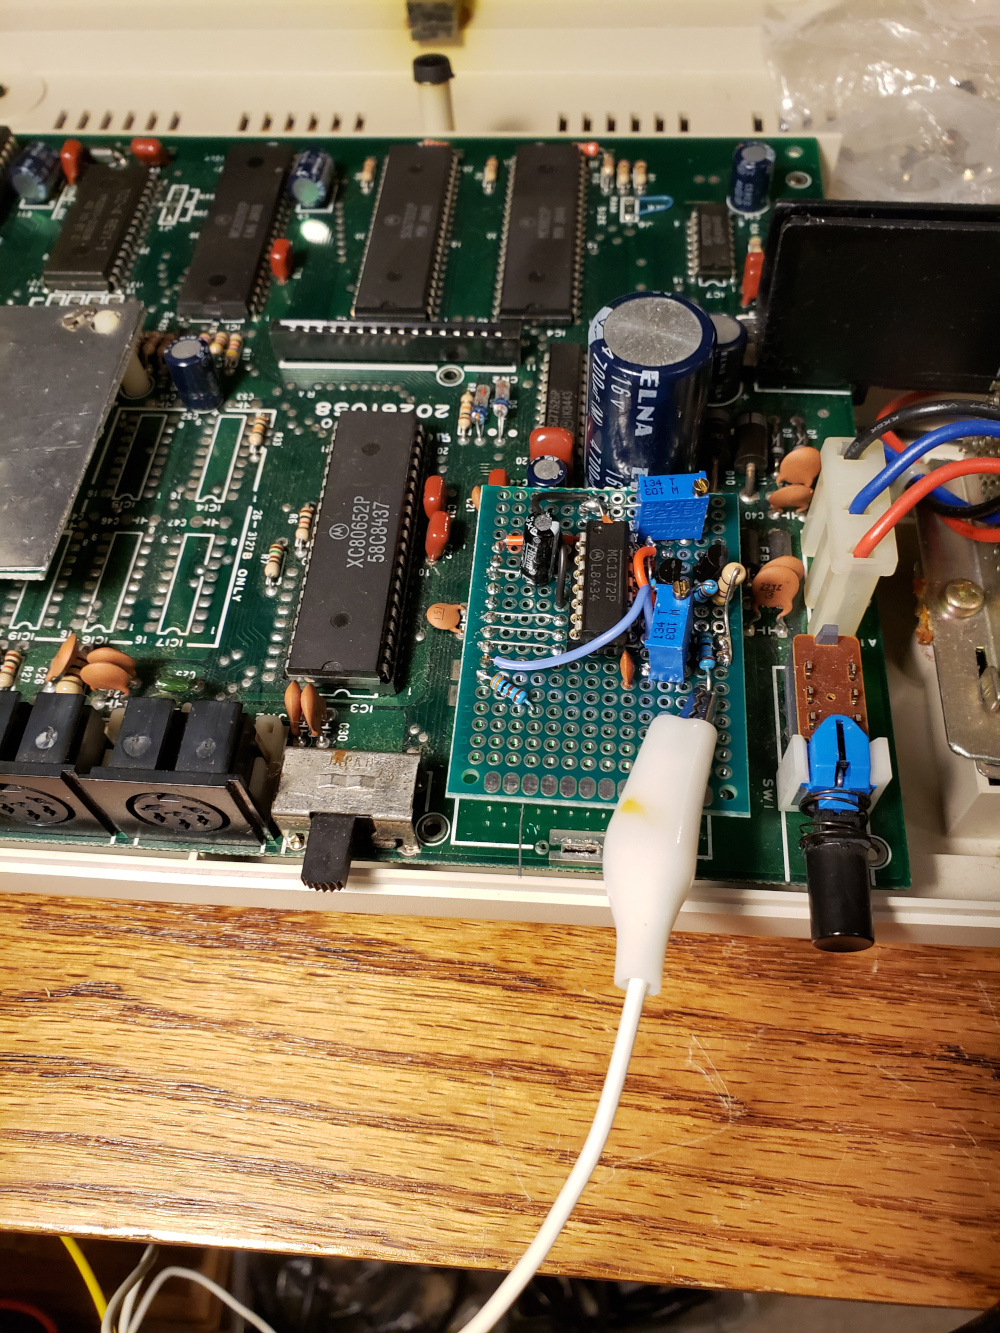
I worked, but the video quality was still pretty bad. I had to tweak some of the resistor values, but I started to get it looking clearer.
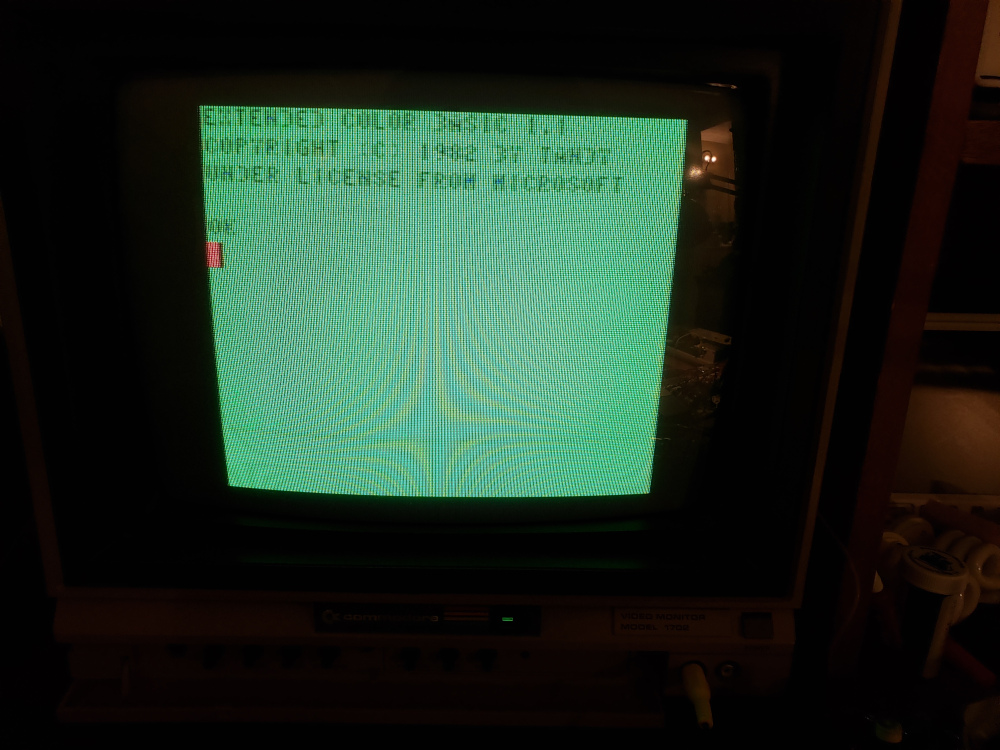
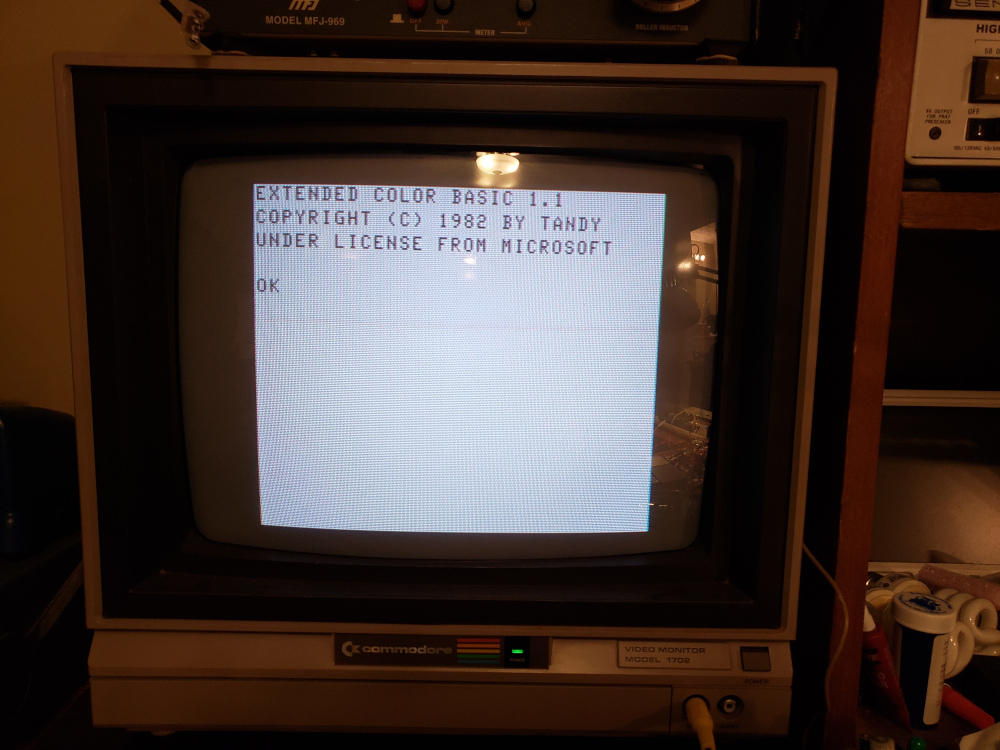
Black and white mode looks much better than color. I think the coco2 made use of artifact colors and straight composite color video looks a little off no matter what I do.

I installed a 3.5mm trs socket to use as the video/audio out.
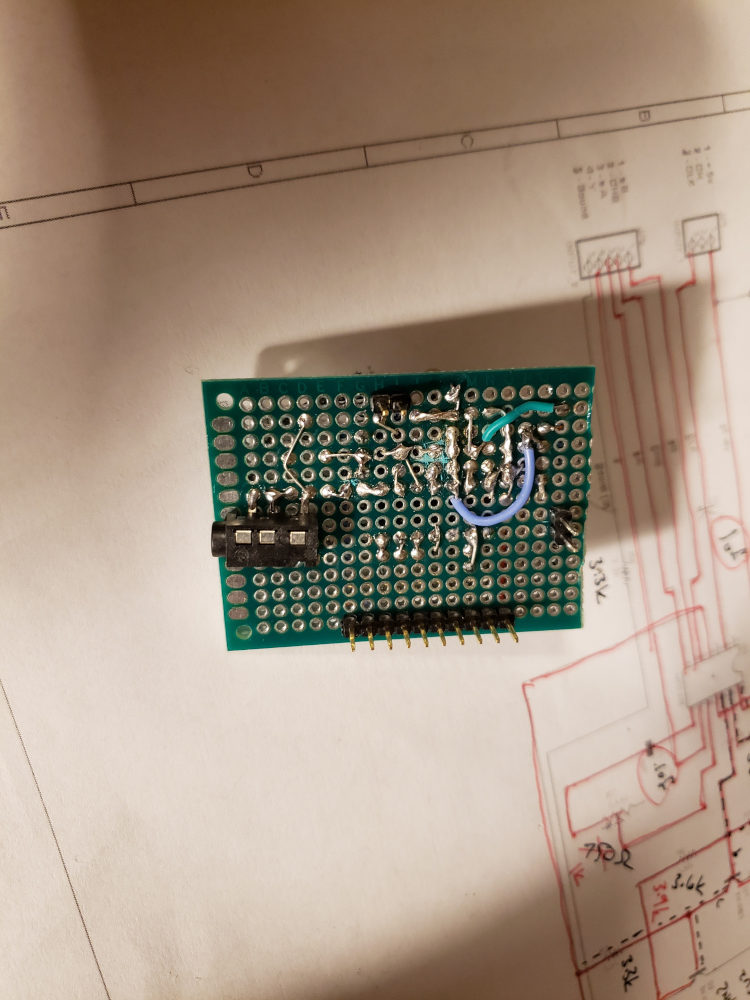
I built up a cable and everything tested out okay, so I moved on to cleaning up the unit.
I removed the keyboard and pulled the keys to clean them all individually.
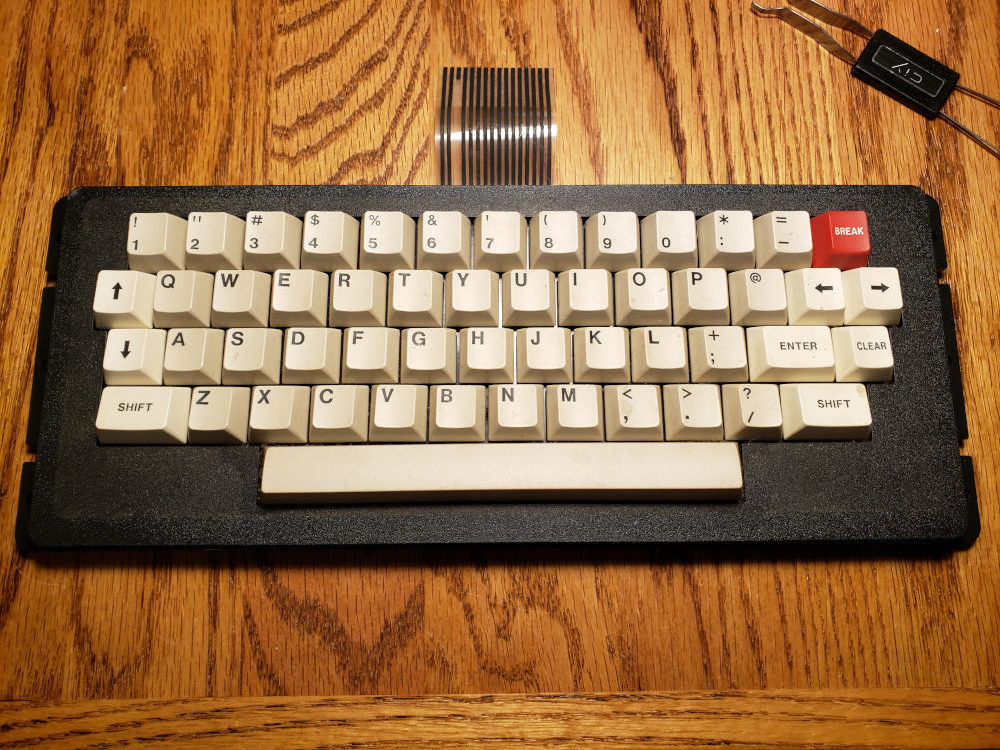

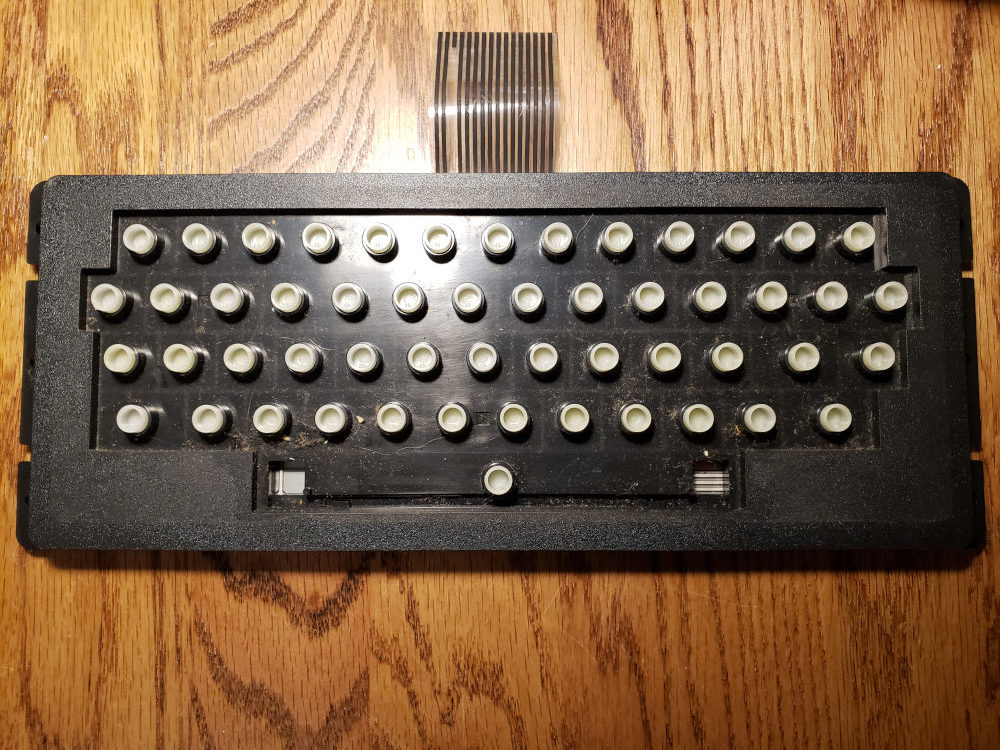
I also cleaned the case. It cleaned up very well. There was very little yellowing.

I reassembled the machine.


Here we are. The image below shows the standard color mode.
With a few pokes, I can tweak the text and background colors.

Black and white mode.

Inverse black and white mode.
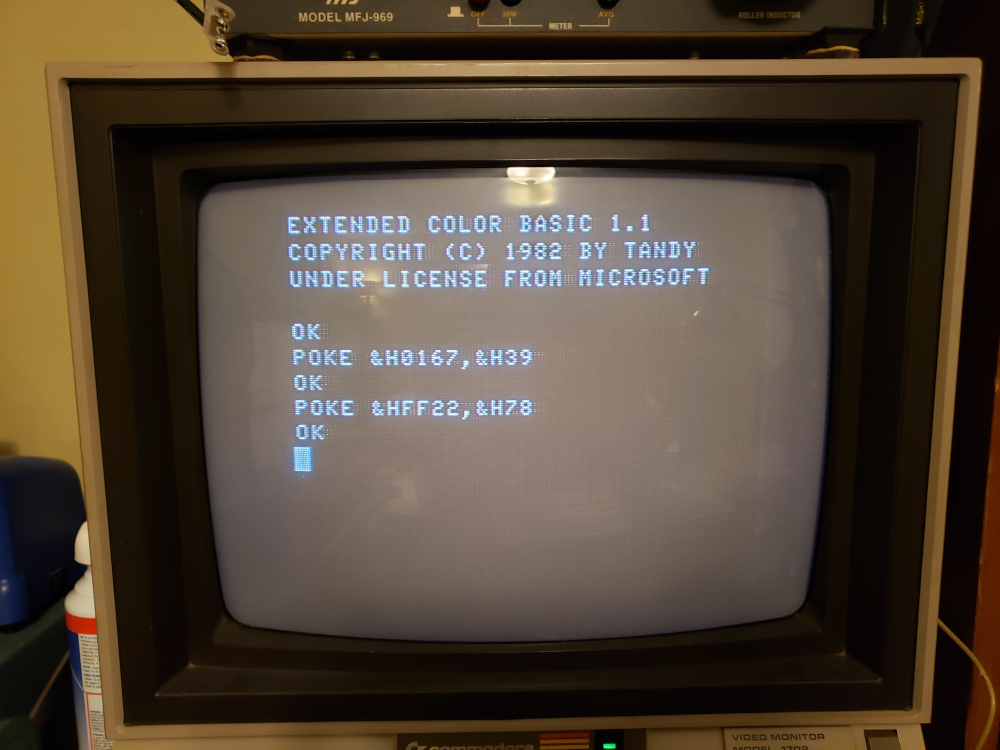
The video is not perfect, but it is much better than RF. At least I can use the machine now.