heathkit hp-23b power supply restoration
Last night I finished restoring the hp-23b power supply that I got with the heathkit hw-101. You could tell that it hadn’t been used in a long time and it had all of the original components including the old paper caps. I never actually turned it on in its original state so I never verified if it was in working order, but it seemed like a no brainer to just go ahead and replace everything.
Here are the before pictures.
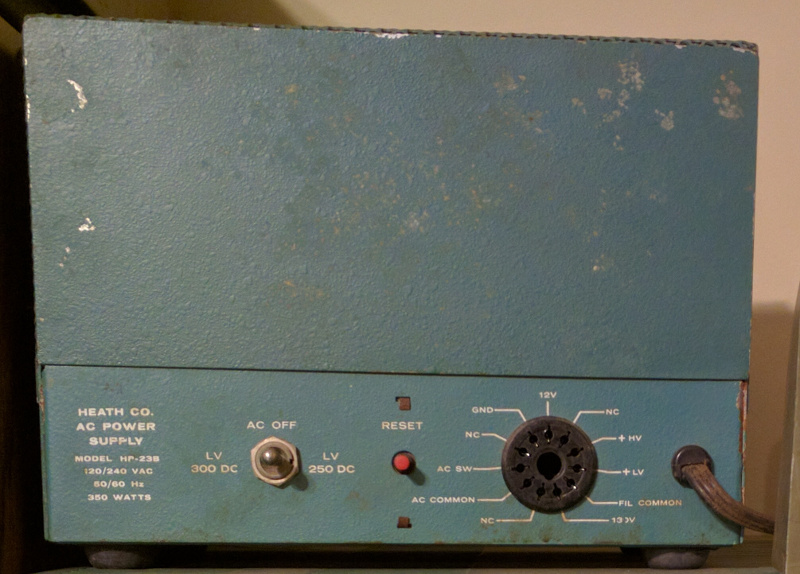
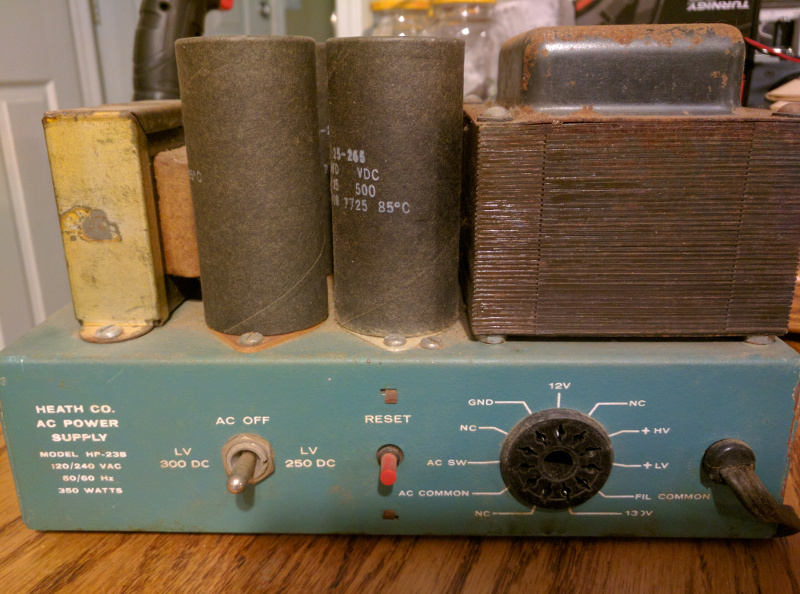
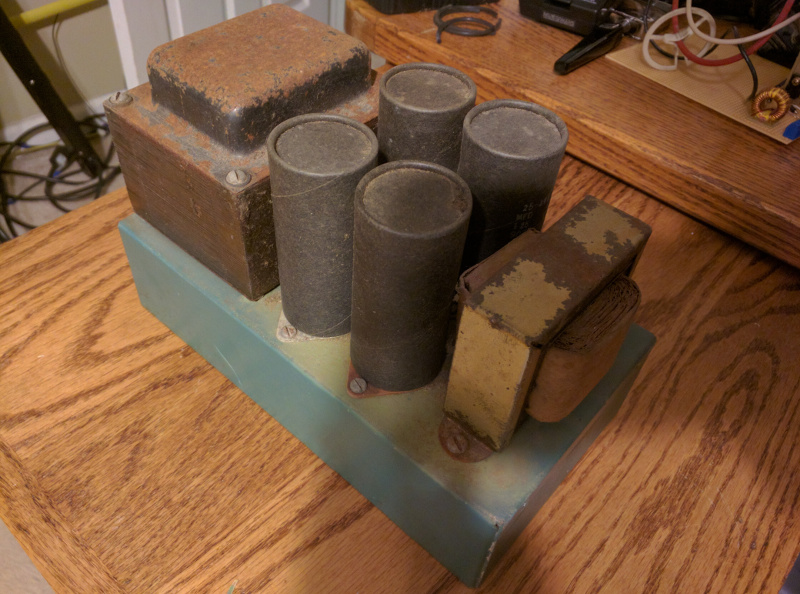
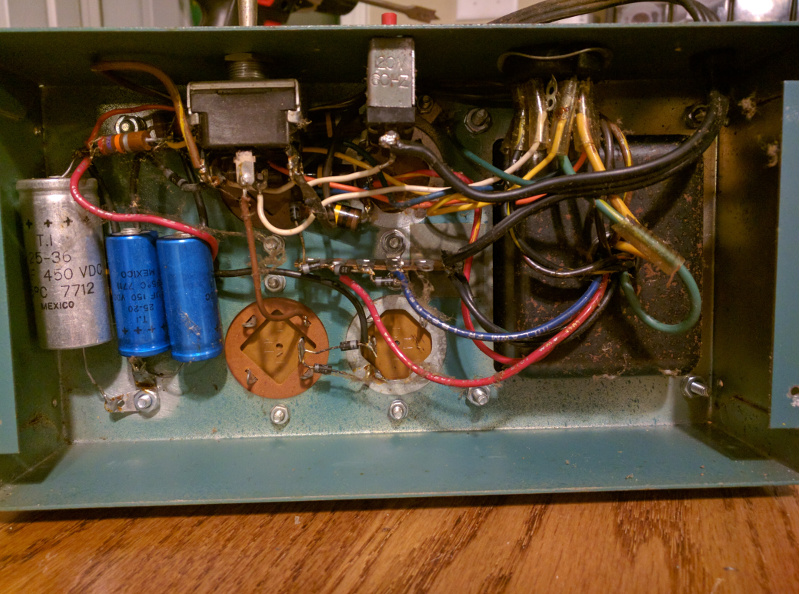
First, I ordered suitable replacement components from digikey. The parts numbers and quantities are below:
1x 47uf 450v capacitor – P13677-ND
2x 47uf 200v capacitor – P13525-ND
4x 150uf 450v capacitor – 1189-1353-ND
6x 1N4007 diodes – 1N4007FSCT-ND
5x 100k 2W resistors – 100KZCT-ND
There is an additional 1k and 27k resistor that can be replaced as well, but I didn’t have any at the time and the original resistors were still in spec so I reused them.
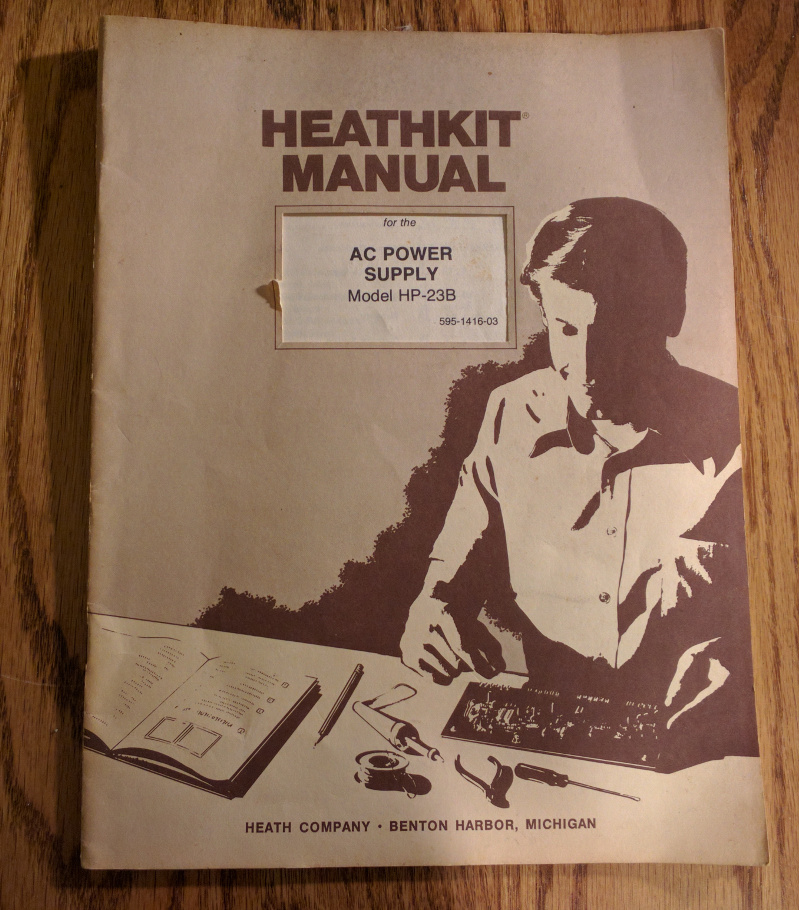
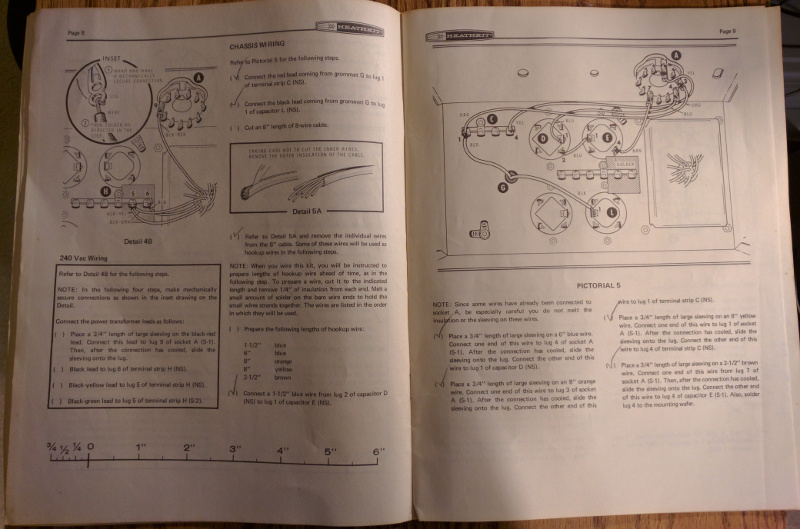
Next, I disassembled the power supply. Luckily, the power supply and the hw-101 came with the original manuals, so disassembly and reassembly was very easy.
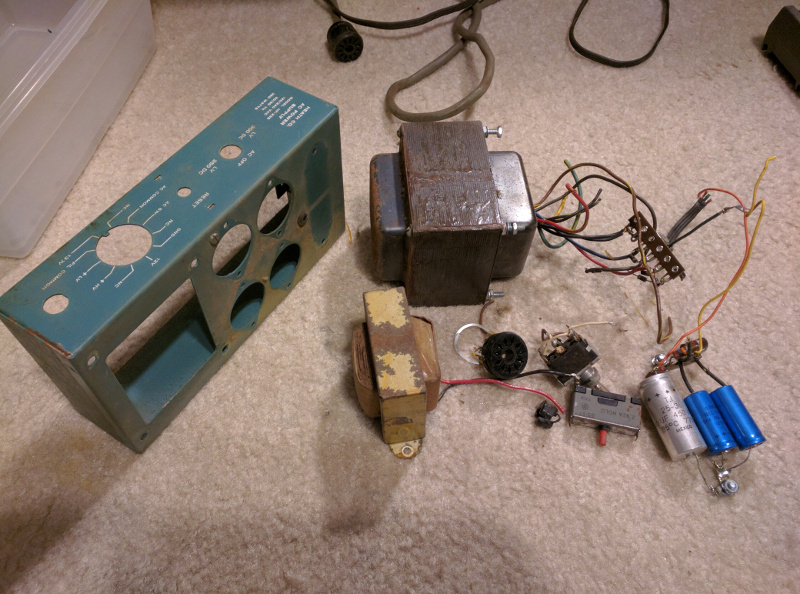
I collected all of the hardware and soaked everything in a vinegar bath for a few days to remove the rust.
I wanted to keep the stock look, so I took the old capacitors and removed the paper sleeve and then cut open the can.
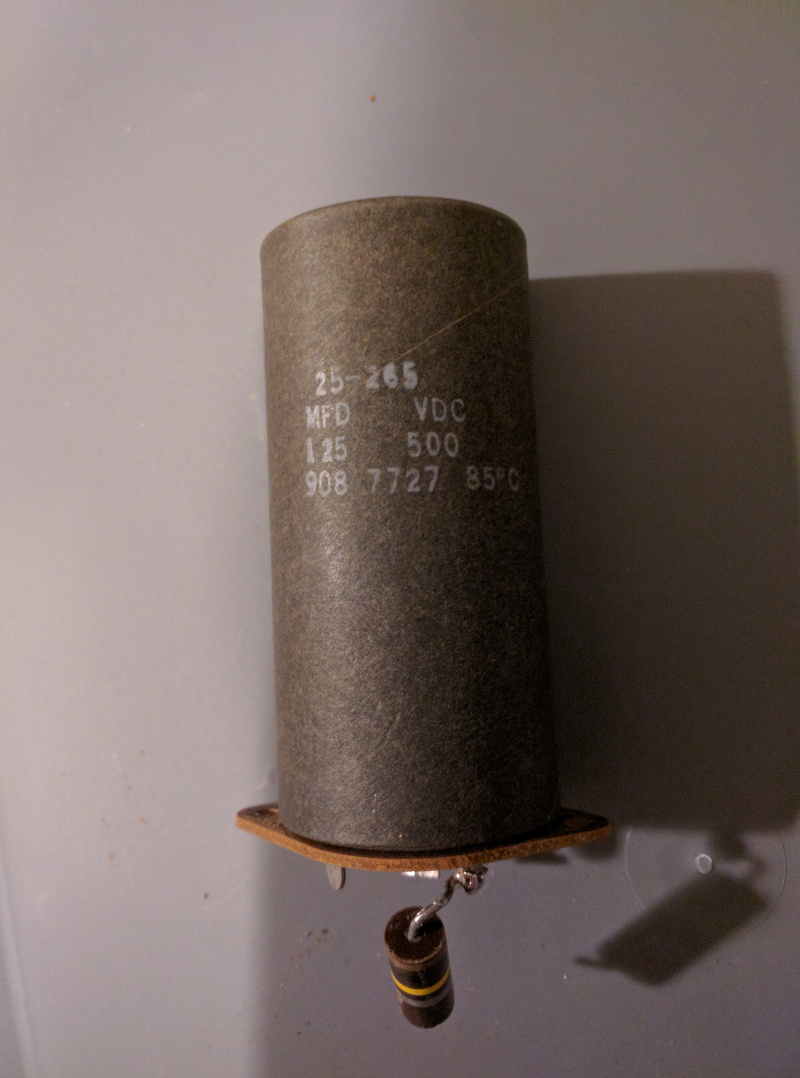
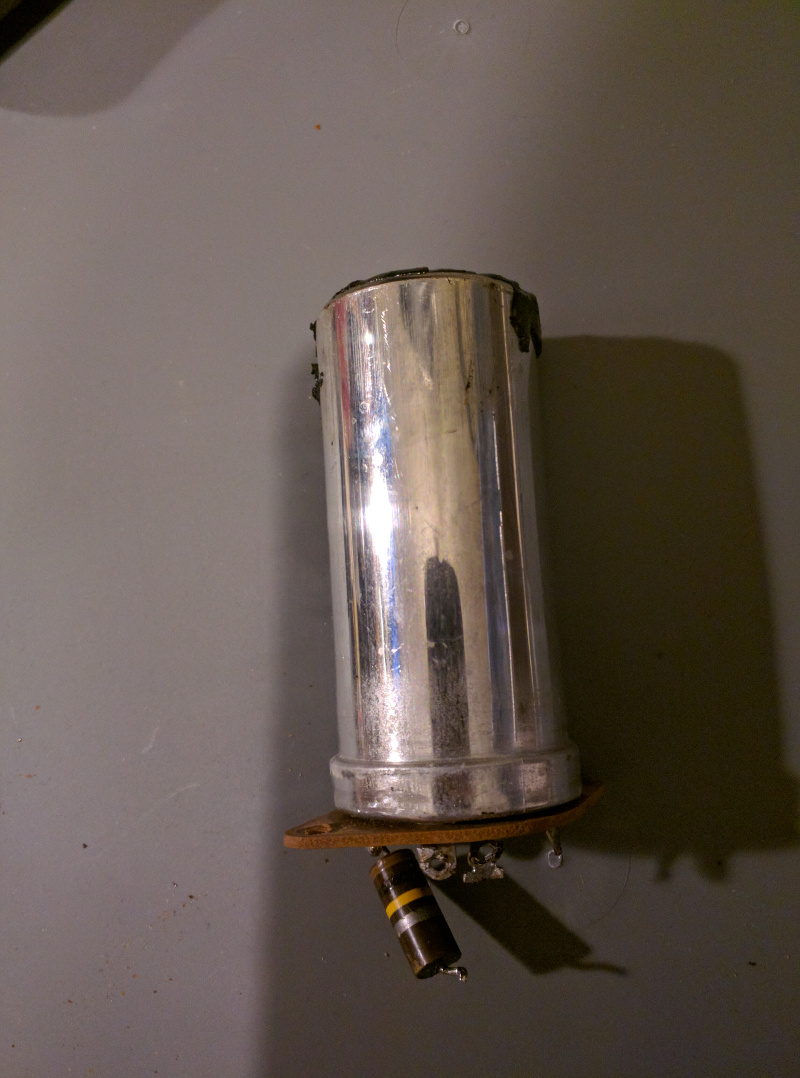
After cleaning out all of the junk inside, I drilled small holes for the leads in the bottom of the can and soldered the leads to the original capacitors terminals.
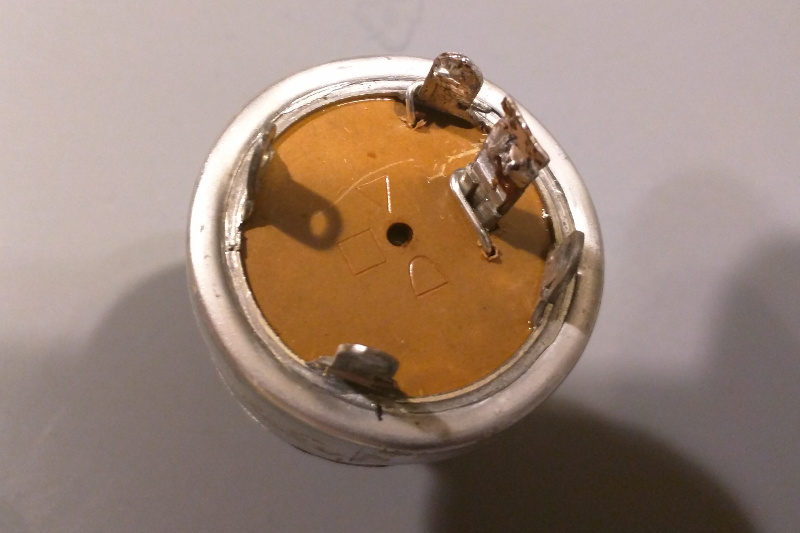
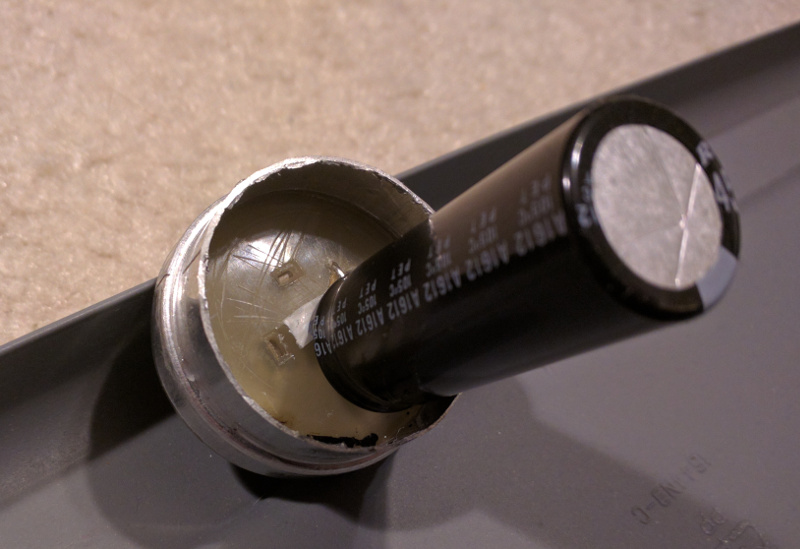
Then I taped the can back together and replaced the paper sleeve. Next up: paint. I went with a slightly different color from the original heathkit bluish-green color. I went with a can of rustoleum moss green.
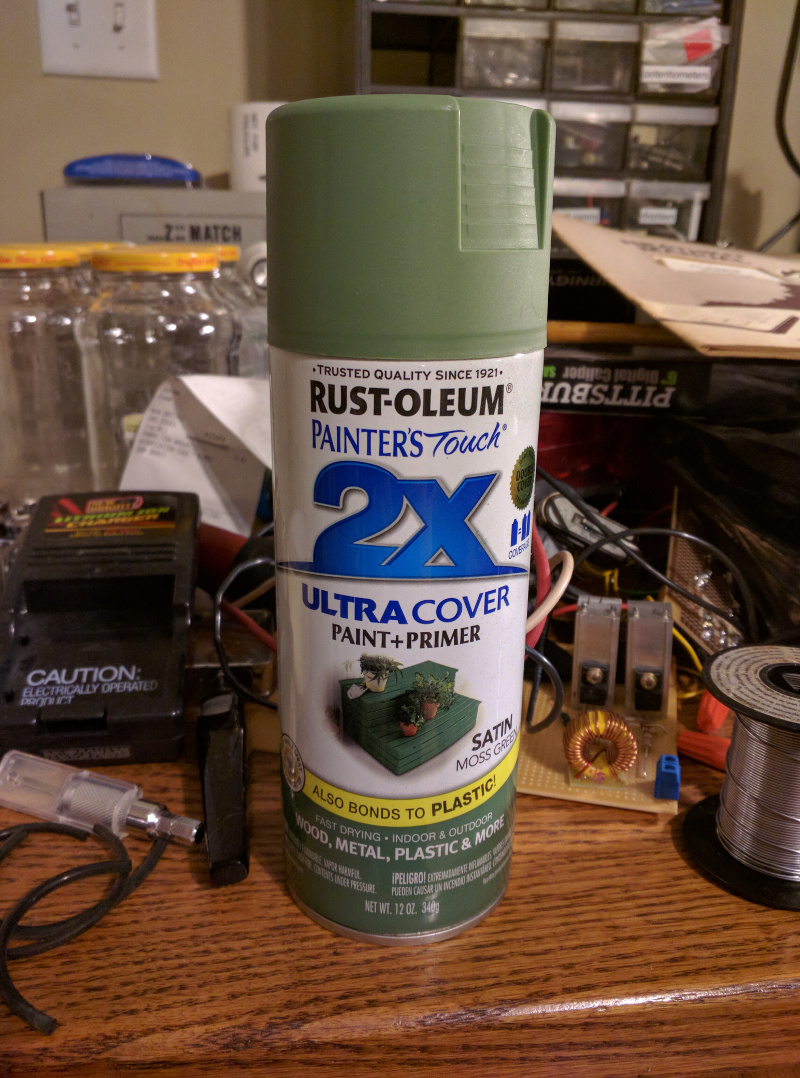
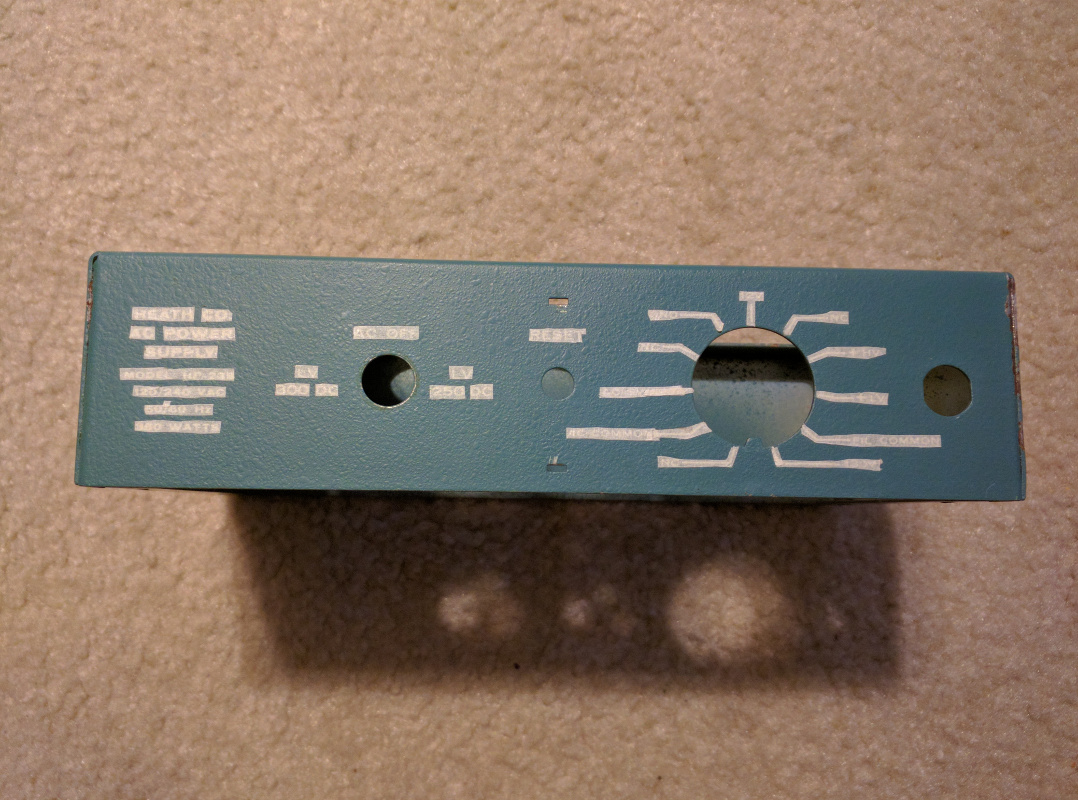
I masked off the silkscreened labels on the front and then did several coats on the main chassis, the bottom plate, and the cover.
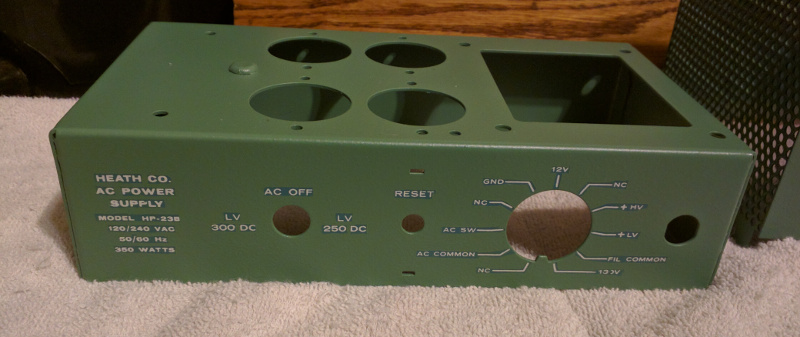
I also disassembled the main transformer and the choke and painted them black.
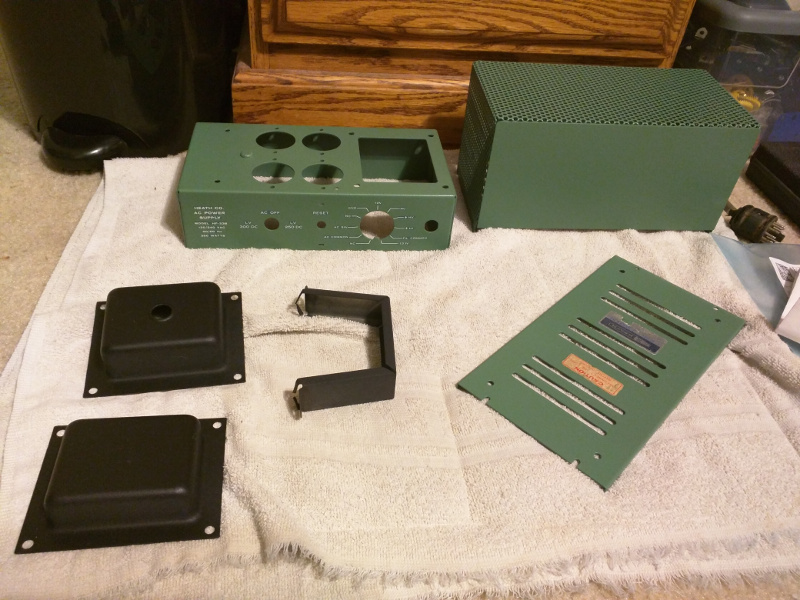
I clear coated everything and started putting it back together.
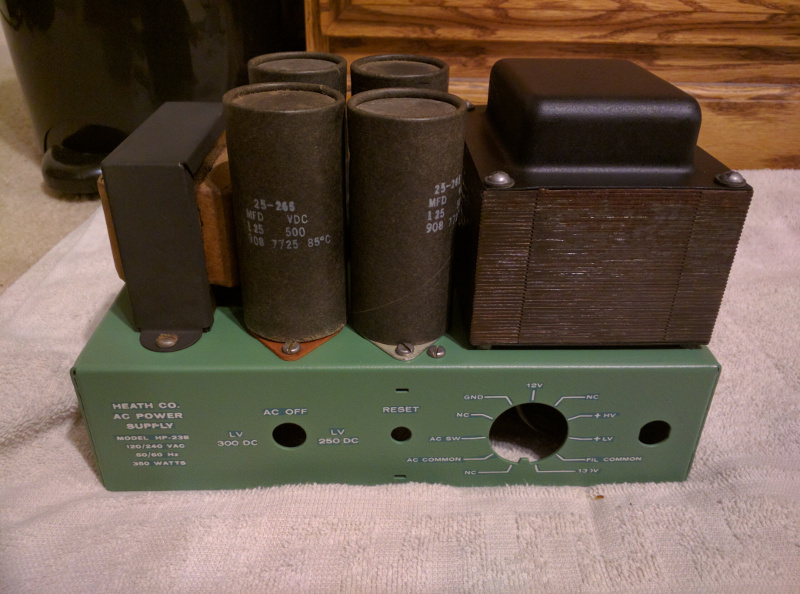
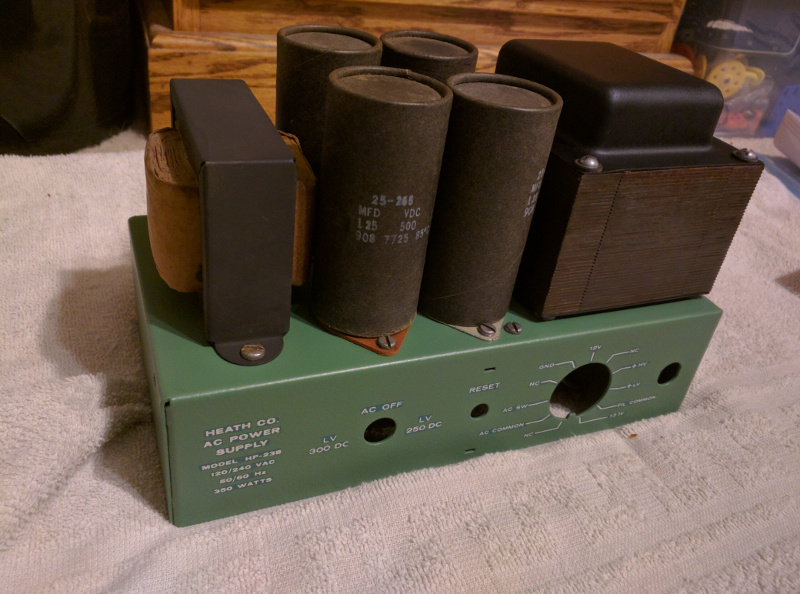
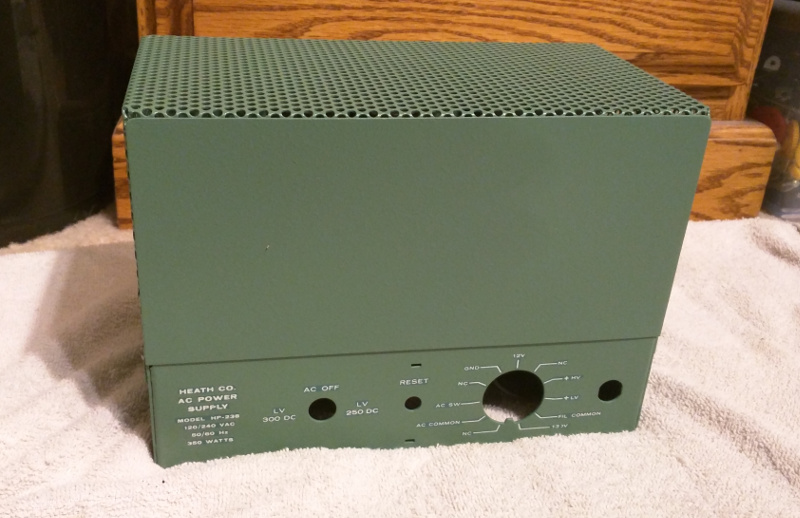
I flipped it over and rewired everything following the steps in the manual.
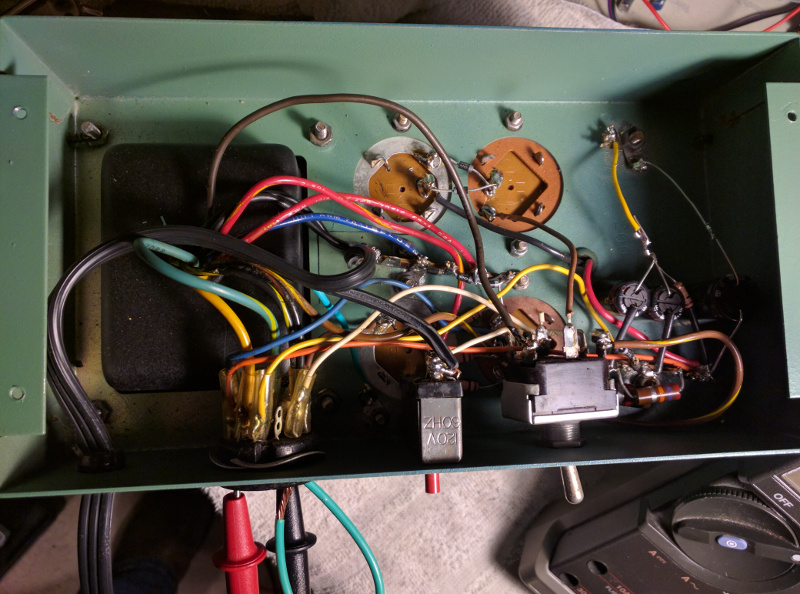
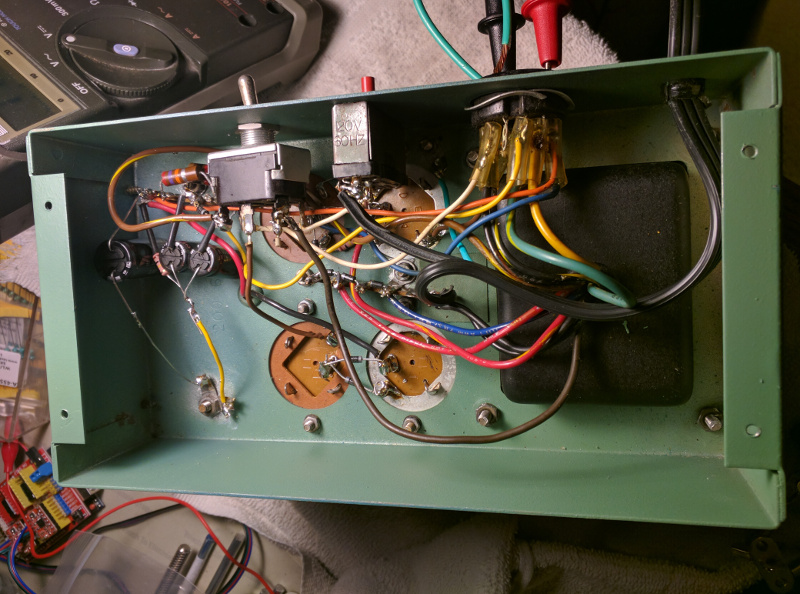
Once it was all together, I jumped the AC SW and AC Common terminals with a piece of wire and hooked it up to a variac and slowly brought up the voltage, watching its output. Everything seemed to work as expected. The low voltage, high voltage, and filament voltages were all where they should be.
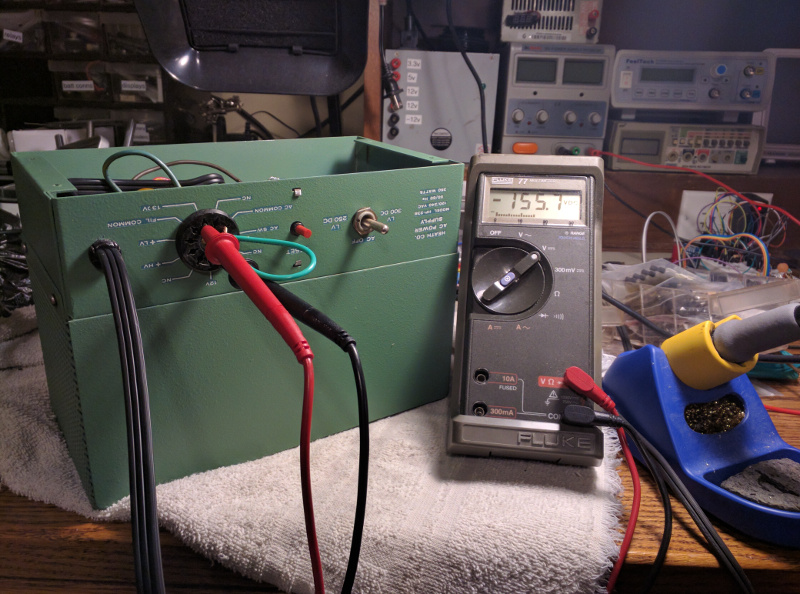
I will probably clean up the wiring a bit and maybe hot glue a few things in so that there is less chance of anything shorting. Then I’ll button it up and start on the hw-101.