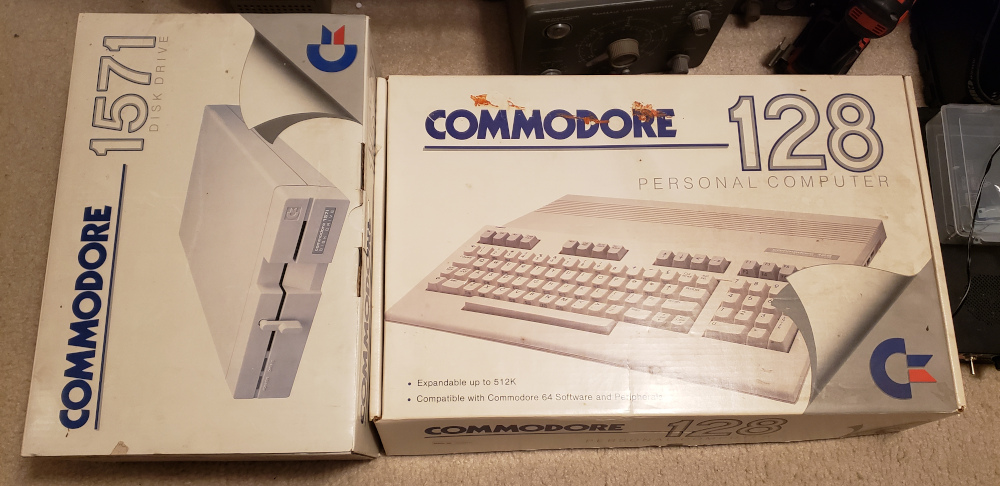
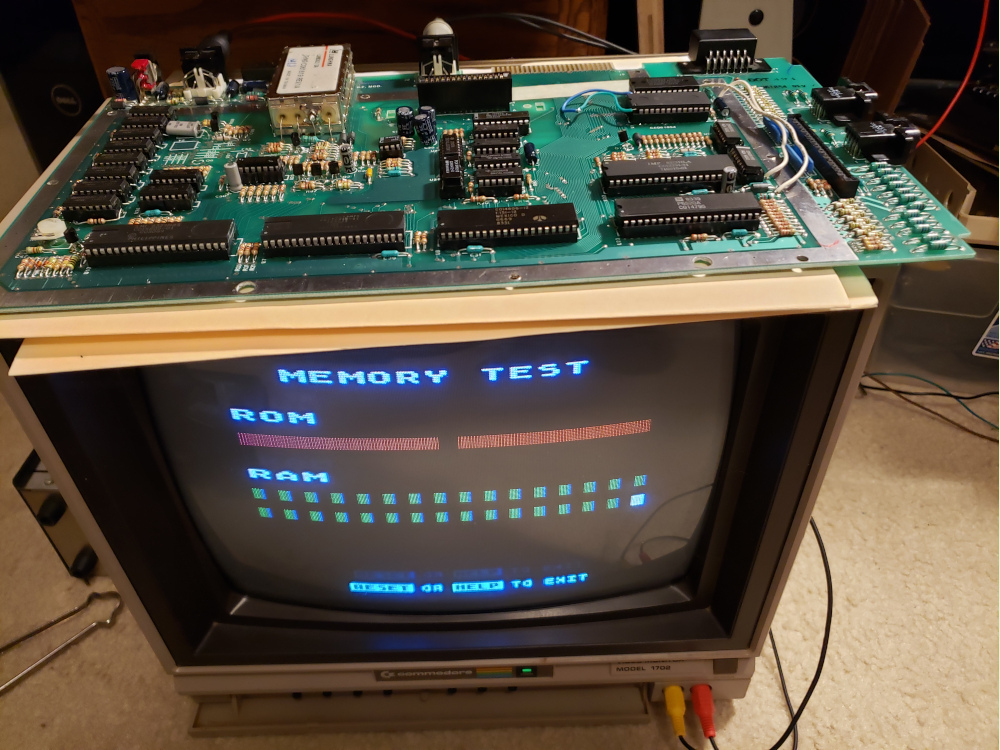
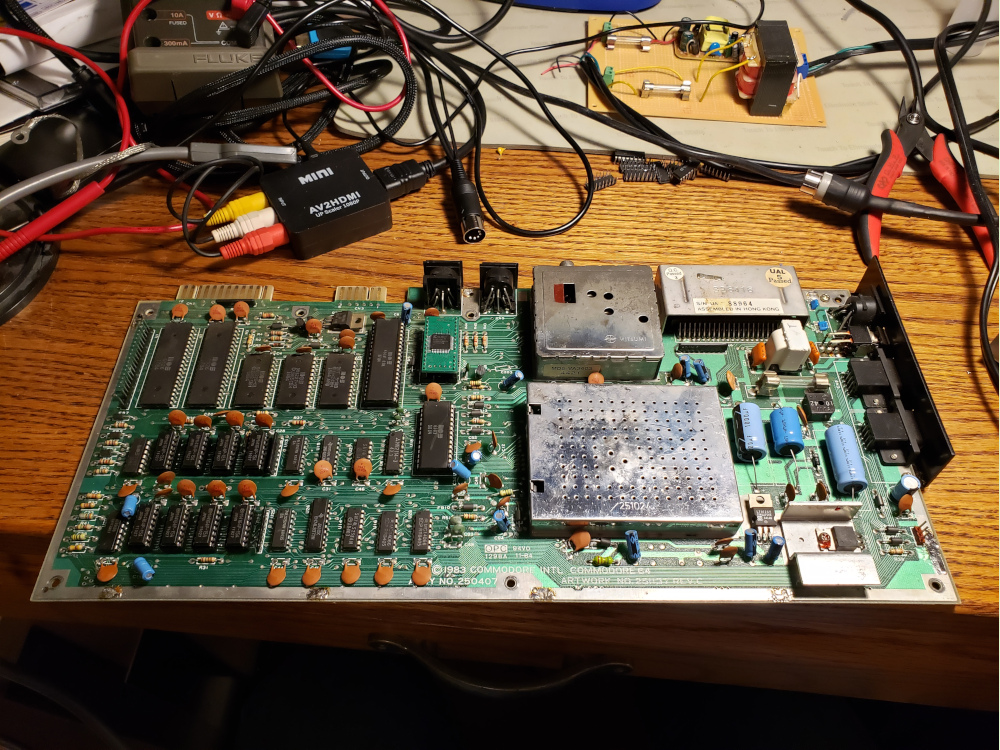
Another recent addition to the collection is a Commodore 128. I picked it up at a local estate sale with a 1571 disk drive, another Commodore 64, and some cartridges and accessories.
When I first brought it home, it was filthy. I decided to clean it up first before I tested anything.
The power supply had some little plastic caps that filled the screw holes. I used a bit of hot glue on the end of a small screwdriver to pull the caps out.
I finally got around to working on the atari 800xl that I mentioned back in October.
This machine has been a nightmare.
To start, it would power up to a slightly reddish black screen. I couldn’t find any good info online about this particular ailment, so I decided to just start swapping chips between the atari 800xl and the 600xl that I have.
I’m not sure if the 600xl is in working order.
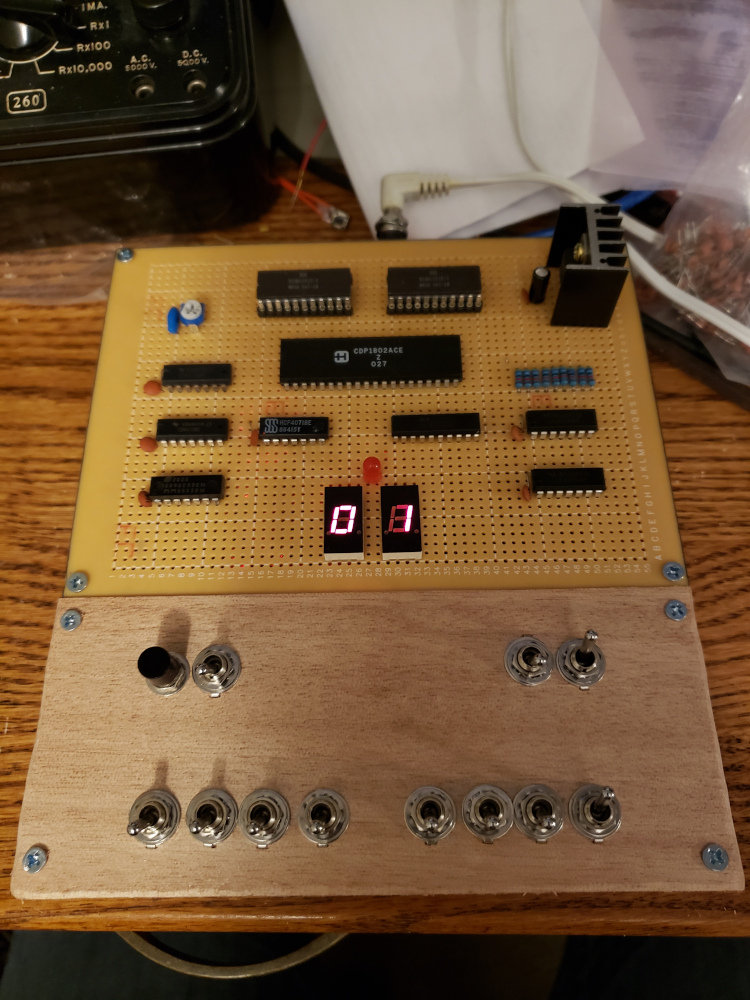
The next step in my homebrew computer adventures is the Cosmac Elf.
The Cosmac Elf was a DIY computer that appeared in Popular Electronics in 1976 and 1977 using the RCA 1802 microprocessor.
The schematics that I used are here:
ELF Schematic 1
ELF Schematic 2
Other good resources can be found here:
http://www.sunrise-ev.com/vcf-elf.htm
http://www.cosmacelf.com/
I was able to find all of the parts except for the TIL311 displays.
Well, I could find them, but the cheapest I saw was $30 per display, so I ended up using regular 7-segment displays with an arduino driving them.
After tinkering with the 8-bit breadboard computer, I started to get more interested in other 8-bit processors which then led to reading about early home computers.
Some of the first computers that I can remember using are the Commodore 64 and the Apple II, so I started reading more about 8-bit machines and the history of personal computers.
I started with the early machines like the COSMAC Elf, the Altair 8800, and the IMSAI 8080 all the way to the end of the 8-bit era in the early 90s.
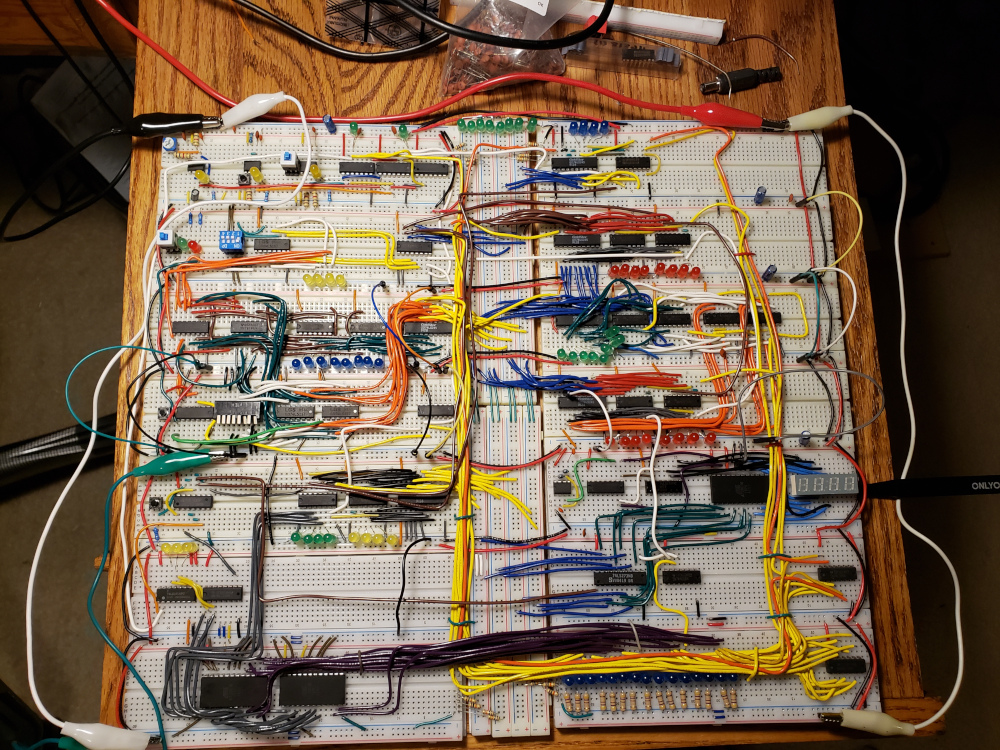
Over the last few weeks, I’ve continued work on the 8-bit breadboard computer. I first added the control signals.
The bundle of yellow wires in the bottom right are the control lines that run to each module.
The blue LEDs underneath the bundle will show the active signals.
The next step was to define the microcode and add the control logic using two eeproms. The code snippet below shows the instructions as a binary representation of the control signals above.
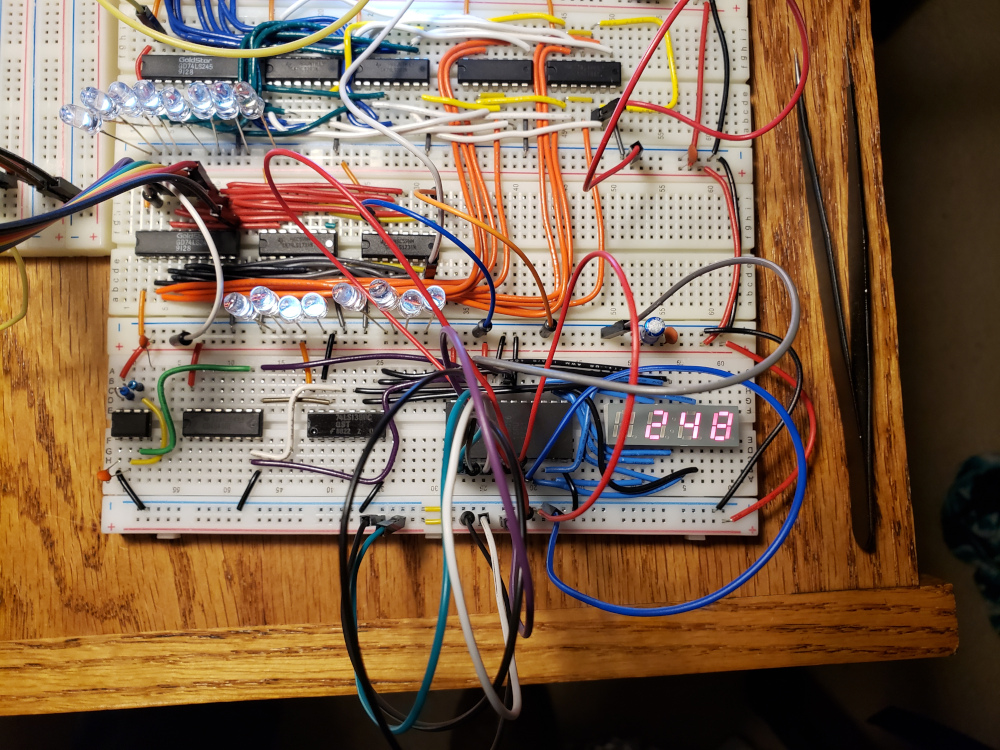
After a busy few weeks, I finally got back to the 8-bit computer project. Since the last post, I’ve added the output register and the bus connections.
I used a CD4040BE for the counter instead of the 74LS76 as I didn’t have any of those on hand.
In the image above, I’ve added the bus connections. The output register is counting up with the program counter. The blue diodes in the top right module are showing the number 6 in binary which is mirrored on the output display.
