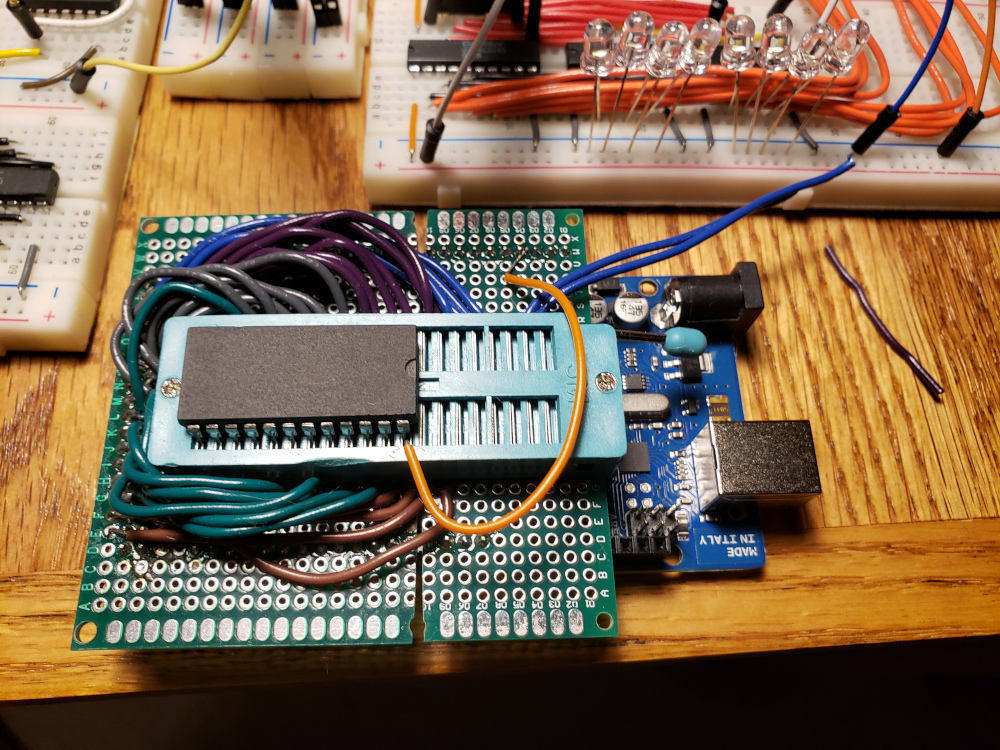
Part of the output display of the 8-bit computer relies on an eeprom to drive the 7-segment displays. In order to program the eeprom, I needed to build a programmer.
In Ben Eater’s youtube series, he builds a programmer with an arduino nano and a couple of shift registers because the nano doesn’t have enough digtal pins to program the parallel eeprom.
I had an arduino mega with plenty of digital pins, so I used it instead.
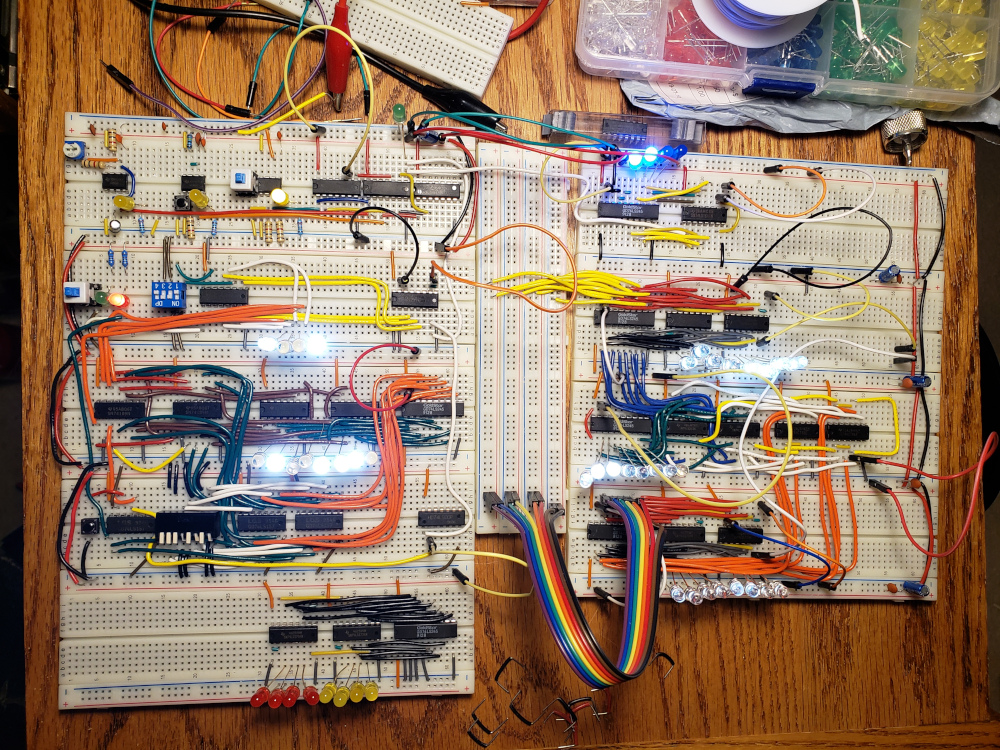
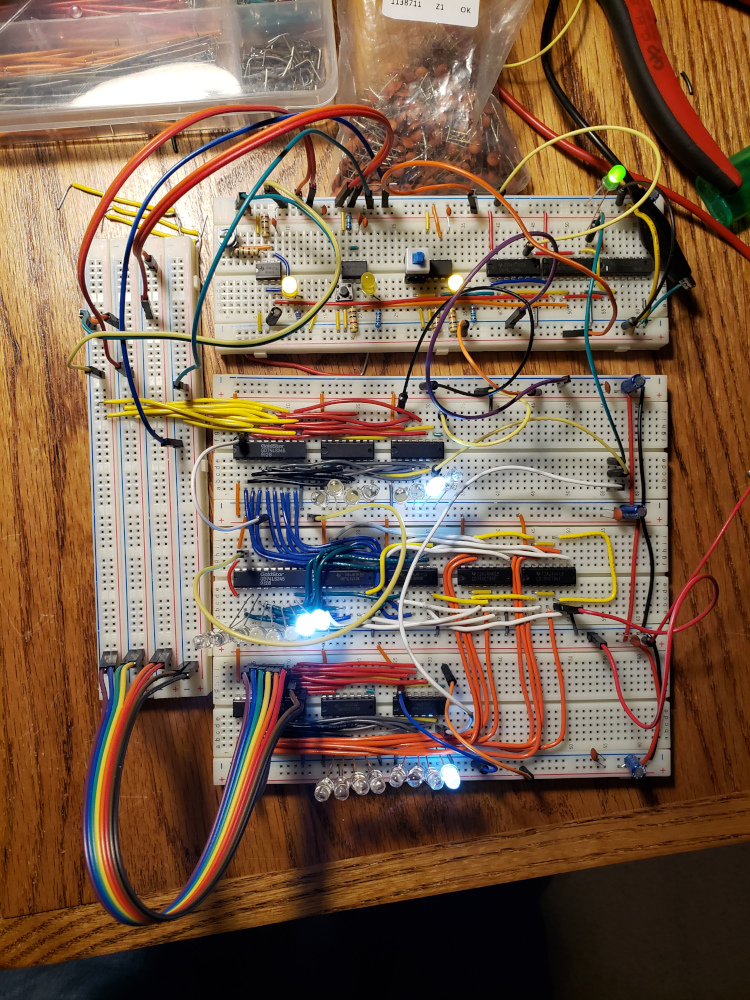
I finished up the ram and built the program counter for my 8-bit computer. Its starting to come together.
The modules on the left from the top down are:
Clock Module Memory Address Register Ram Module Ram Module Instruction Register The center is the bus and the right side is:
Program Counter A Register ALU B Register A shot of it running.
My problems with the ALU ended up being the cheap jumper wires that I bought from amazon.
The inner wire was so thin and soft that some of the wires were actually broken inside of the insulation.
I rewired the ALU using good 22awg wire and it worked like a charm.
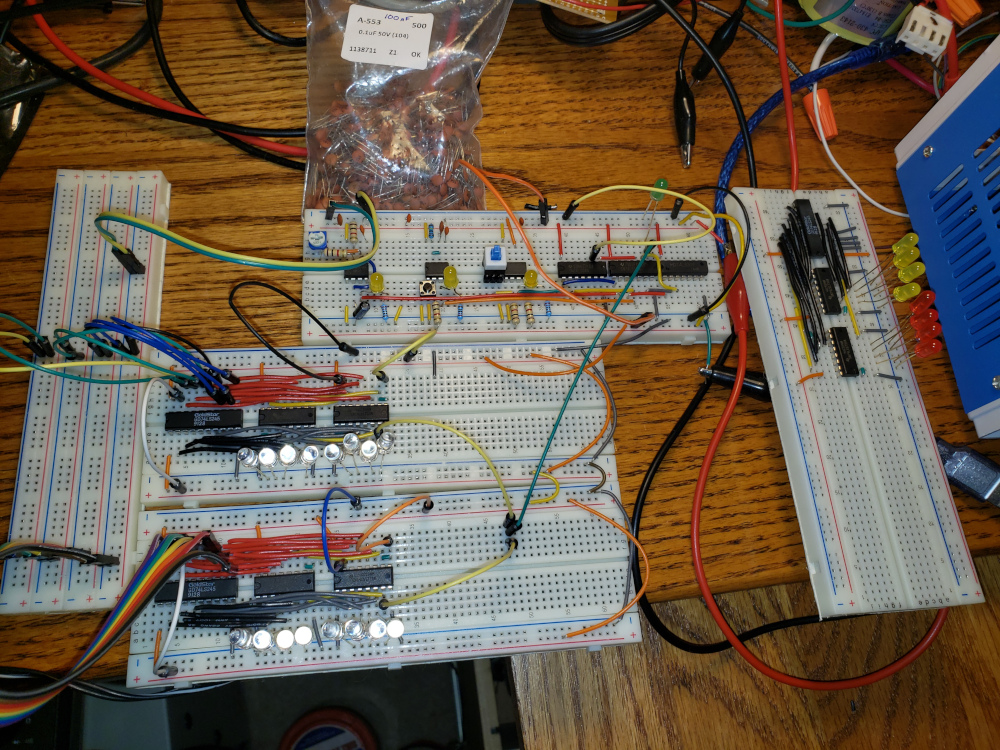
In the image above, register A (the top LED) is displaying the number 2. Register B (the bottom LED) is showing the number 1.
I haven’t posted anything in quite a while. I’ve been very busy and haven’t had much free time to tinker with things, but I have been working on a few projects. I just haven’t finished any of them.
Since my last post, I’ve gotten a new 3d printer, a cnc machine, a bunch of stuff to restore and/or fix, a few new radios to mess around with, some kits to build, etc.
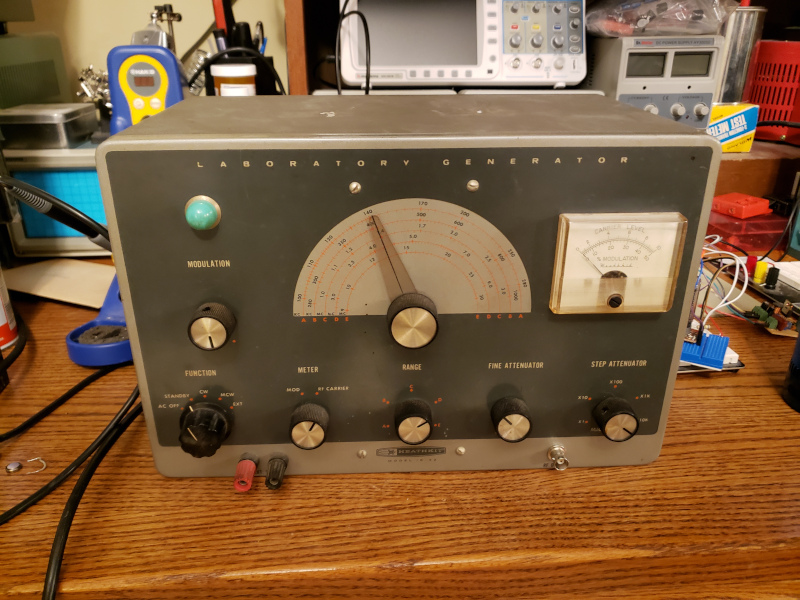
Well, since my last post, my house took a direct hit by lightning, I spent some time in the hospital, and my job built a new headquarters and we moved in, so I haven’t had much time to work on anything in my spare time, but I did recap and mod an old Heathkit Laboratory Generator, model IG-42.
This is the inside before I did anything.
You can see all of the old caps that needed replacing.
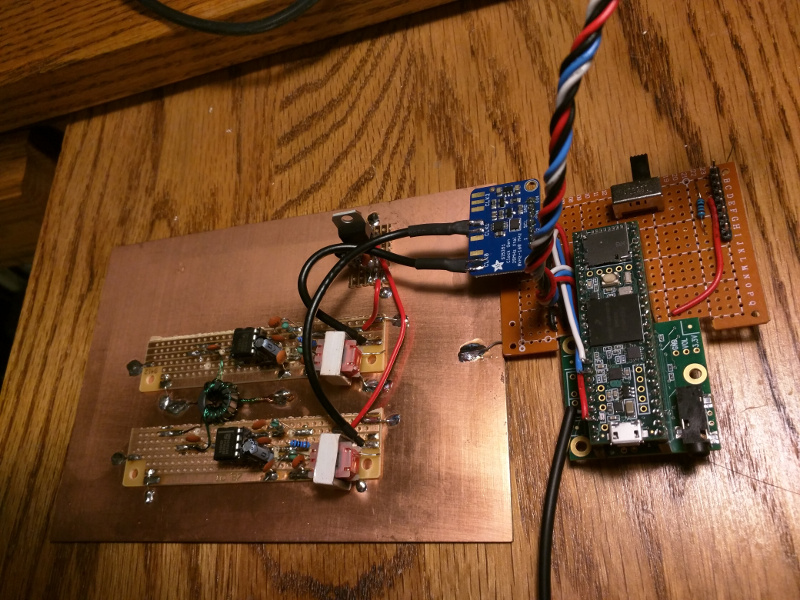
I’ve been following along with ZL2CTM’s latest Teensy SDR transceiver build and I’ve been trying to emulate his design even down to his construction style with the strip board.
So far, I’ve got the radio receiving well enough. After troubleshooting a bad grinding and squealing noise for a week, I found a bad audio transformer. After replacing that, the rig came to life.
I was able to generate the quadrature oscillators with the SI5351 as detailed in this post and I’m amplifying the audio with the teensy itself, rather than an external audio amp.
